Browsing Category

DIY

Colorful projects that will inspire you to create.

DIY Vlog

How to Start a Video Blog or Vlog

02/04/2014

I reworked this article from a couple of past articles because I decided to give “vlogging” another try!

There have been quite few awesome recommendations for the DO IT OURSELVES feature on Miseducated (suggest to us what you’d like us to both make and share the process of making) and so I decided I would try something I was asked about years ago.. mostly because I’m a bit shy/critical of myself and it’s VERY hard for me to force myself to make a video blog. I’ve done a couple through the years but I’ve deleted or never published most of them.

What I’ve been trying to do is to be as relaxed as I am when I’m writing.. as though I’m just hanging out with my friends and you’re coming along on the sugar trolly.

This first try is my new vlog introduction. It’s not perfect, it’s not even that great but I did check off my long list of basics such as finding a setting (key!), making the intro using an image and the custom theme (I got tired of the animation — maybe later) and having an idea of what I might say (but not scripted and slow!). I tried to put forth the basic tips I’ve collected throughout the internet years when creating this quick and dirty video show introduction. Stay tuned for both my notes and steps to try it yourself!

Notes

1. Theme Visual & Theme Song (or voiceover)
2. Introduction
3. Video Blog
4. End / Bloopers / Goodbye / Theme Close (with a cute animation??)
5. Credits (if needed)

Theme

What do you need to do this? Do you have any friends that compose original music? Can you use music that is free for public use? The possibilities are endless.

Video Editing

Again you can use and get creative with videos of public domain or grab your webcam and record some. You can settle for Quicktime Pro for quick and easy editing such as cutting, copying and pasting clips. If you’re interested in more advanced video editing software you should try Final Cut Pro~ for quick and easy editing I used iMovie.

Content

Of course this depends on what kind of video blog you’re making — if you’re interviewing a guest or featuring an event then obviously you would prepare questions and feature them as much as, if not more than, yourself.

AND if Miseducated has taught you anything it’s to pay attention to your mise-en-scene. Actually pay attention to what’s in the frame. If you’re filming in front of a pile of dirty laundry it probably wont have the same effect as in your local soda-shop or your cute office.

So if you want to start, read the following steps and join me in this fun medium of communication.

STEPS: Try it Yourself!

1. Watch a lot of video blogs.

Check out your friend’s blogs, their friend’s blogs, you favorite model’s blog and more. Surf around Flickr and Youtube and see how other’s carry out their video blogs. Pay attention to the content, length and format. Note what you like and don’t like about them.

2. Create the actual content.

Write down what you plan to talk about, keep it short and to the point so you can freely elaborate on video. Make sure you don’t look like you’re actually reading the notes to yourself; make it spontaneous but don’t get too lengthy. I think the best videos are short and sweet.

3. Practice makes perfect.

Practice in front of the camera. Take long videos, short videos, videos of you talking with your best friend, whatever video ideas you have practice them. Pay attention to how you present yourself in front of the camera and take notes. Re-record re-record re-record.

4. Post your video.

After following all the above steps you may or may not be ready to post your video. Post it anyway. We all have to start somewhere and that only leaves room for improvement.

Don’t worry about getting it right your first video. It will probably be too long, you’ll look like a huge dork, and the guys building a hotel next door will probably take the exact moment you’re recording to use their jackhammer. Whatever.” – Kontrary

Have you given it a try? Are you considering it now? Do you think we should further investigate this form of blogging?

Crafts DIY

How to Make Citrus Peel Potpourri

12/28/2013

potpourri

Need an easy and sweet little gift for friends? Want to add some deliciously spicy scents to your environment, closets or dresser drawers? Why not make potpourri? It’s easy, comforting and smells wonderful! This year at our Holiday party I made a big bowl of potpourri in one of Mistereducated’s handmade, sparkly bowls. It was a combination of citrus peels from the fruit salad we made, dried orchids from the flowers he raises, roses from bouquets he’s given me, spices, herbs we grew and tended together, etc. It was filled with lots of love and the spirit of our happy home. I placed the bowl in the center of the table and on the edge I placed silky white sachets filled with the potpourri for guests to take upon leaving.

1. Peel orange, lemon or grapefruit trying to keep large pieces of peel.
2. Cut into peel-shaped slivers or your own shapes with sharp scissors.
3. Lay out on a tray with no peels touching each other and let dry for a few days.
4. When dry, add peels into glass jar with cloves, cinnamon sticks cut into smaller sections, nutmeg, small pinecones and dried flowers such as pink rose petals.
5. Add 3 drops cinnamon essencial oil and 3 drops orange essential oil.
6. Lid and shake jar. Keep closed for several months making sure to shake or stir each month.
7. Voila! Open and place potpourri around house in bowls, baskets or in sachets.

Citrus Stovetop Potpourri

1. Grab a pot.
2. Add fresh orange peels from 2 oranges (no need to dry).
3. Add spices of your choice: cloves, nutmeg, cinnamon, vanilla, etc.
4. Put enough water to soak and submerge ingredients.
5. Simmer on stove over low heat to achieve scents, turn stove off when done.
6. Can last a few days if you want to re-simmer tomorrow.

slice

Want to use SLICES of oranges to make potpourri?

1. Slice the orange into thin, even slices.
2. To dry in your oven, set the temperature to 100 degrees F and put in oven for approximately 4 hours. The dried slices should be brittle when removed.
* Make sure to rotate and shift the drying trays every half hour and turn the food occasionally to ensure even drying.

DIY Positive Energy Project

Positive Energy Project: How to Sage Your Home

06/19/2013

“Every life transition has its “zero hour,” that moment when everything that came before it is different from everything that comes after.” ~ Holly Rossi

Sage Cleansing Ritual

1. Make or purchase a dried sage smudge stick (many dried sprigs of sage tied together into a small bundle) and also obtain an abalone shell to hold it over while it burns so you do not drop ash or embers as you go around your home.

2. Open every door and window in your home, including the closets, drawers, cabinets and pantries.

3. Light the stick and softly blow out the flame to allow the embers to smoke (like incense).

4. Walk around the room waving the smoking sage stick into every corner, along walls, around windows, in cabinets and closets and along ceiling lines. You may need to relight several times to keep it smoking. As you do, imagine the smoke absorbing all negativity, toxicity, left-over energies from others who occupied your home once before and anything else you want to dispel. Watch the smoke dissipate and float out the windows while imagining the negative energies flowing out of your space to make room for positive energy. Say a prayer of cleansing as you do this.

“I cleanse this space of all impurities, negative energies, bad vibrations and anything else that does not suit or support the people that live here now. Infuse this home with the love of my higher power and of the universe.”

5. After you’ve blessed every room, give yourself a sage shower by cupping your hands over the smoke and brushing it over your face and body. Visualize any residual negativity floating out of your body, out of your home and into oblivion.

6. Extinguish the stick in water and store it for the next use or – if your stick is almost gone – bury it in your yard for added protection from negative energy.

DIY Recipes

How to Create Your Own Signature Smoothie

06/03/2013


Smoothies have been all the rage for many years now and healthy smoothies are only becoming more appreciated in this drink/dessert niche. Upon staying with my best friend in California and having her craft the tastiest protein smoothies for lunch and then moving in with my health-conscious soul mate and watching him prepare his own green smoothies I started to really appreciate the craft and every unique technique. Fruit or vegetables? Protein powder or vitamin powder? Honey or sugar? Ice cubes or frozen fruit? Milk, water or tea? So I decided it would be fun to discuss the basic craft of the smoothie and all of the ways you can change it up to fit your own specialized taste so that you too will have a signature smoothie recipe! I’ll even throw in my own go-to smoothie recipe at the end.

First you need to have a blender or a food processor. I use a blender at home but have tried both.

Next you’ll probably want to select some fruit which will likely be one of the main parts of your smoothie. Use fresh (if so you’ll later add some ice cubes) or frozen, one fruit or several. Have fun blending your fruit and creating new favorite flavors.

Fruity ideas: Mangos, strawberries, blueberries, raspberries, blackberries, bananas, apples, kiwi, avocados, pomegranates, oranges, watermelon and pineapple.

Next you’ll want to select a liquid or semi-liquid to add so you can blend your smoothie. There are obvious ideas and some creative ideas to create a more unique smoothie.

Liquid ideas: Milk, soy milk, rice milk, almond milk, coconut milk, coconut water, greek yogurt, tea, fruit juice, ice cream, sherbet, frozen yogurt, sparkling water or water.

Next you may choose to add protein or extra vitamins to your smoothie by using any number of protein powders or vitamin powders. We have a few here that are chocolate and vanilla flavored that adds a bit of sweetness and more vitamins to the smoothie making it more like a meal.

Next you may want to add some greens or vegetables to your smoothie to add some more healthy benefits. Some greens, such as spinach, don’t change the flavor and contain more nutrients. Others to try are kale, carrots, celery, beet root or green powder made from an array of green plants. When using veggies be sure to blend alone with water to make sure your smoothie is smooth and not like a cold vegetable soup.

You can add a sweetener to your smoothie if you feel it will not be as sweet as you would prefer. Try ripe bananas, sugar, honey, agave nectar or, if you must, artificial sweeteners. For me the vanilla protein powders or vitamin powders sweeten the smoothie enough.

To change the taste of your smoothie you can also add different flavor enhancements such as vanilla extract, almond extract, cinnamon, cayenne pepper, nutmeg, salt, coconut shavings, peanut butter, nutella, chocolate syrup and any number of extracts and flavorings you may have or prefer.

When everything is in the blender add a few ice cubes on top. I like my smoothies to be really smooth and icey almost like a smooth sherbet but some just use frozen fruit.

It’s time to mix the ingredients together and create your smoothie! Put the lid on the blender and turn it on medium until the blender starts to smoothen the ingredients then slowly turn it up one notch at a time. Start slow and let the blender work the ingredients for a minute until they are as smooth as you would like and pour into a glass. If you’d like to garnish your smoothie use slices of fruit, skewers of fruit, loose berries, a wedge of citrus fruit, a sprig of mint, flat-leaf parsley, a few leaves of lemon verbena or even a little umbrella. If you’re feeling in a bubble tea mood try to add some BOBA or small jellies to your glass before you add your blended smoothie and garnish with a wide smoothie straw.
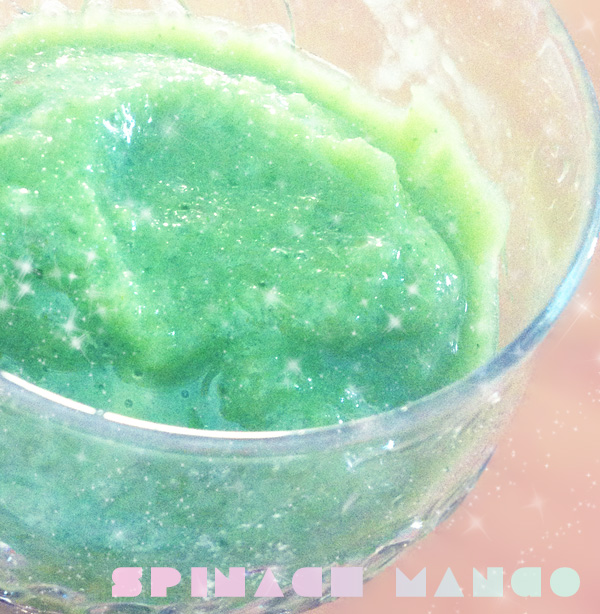

My Own Recipe

Add these ingredients to the blender as noted, blend and enjoy!

  • Fresh spinach leaves (blend with cup of water until smooth)
  • Ice (as needed, might need to add more water to blend)
  • Mango chunks
  • Pineapple chunks
  • Apple chunks
  • Strawberry slices
  • Scoop of vanilla vitamin powder (may substitute protein powder)
  • If you like add boba to the smoothie glass and pour in your smoothie after it has been blended smoothly and enjoy with a wide straw!
DIY Recipes

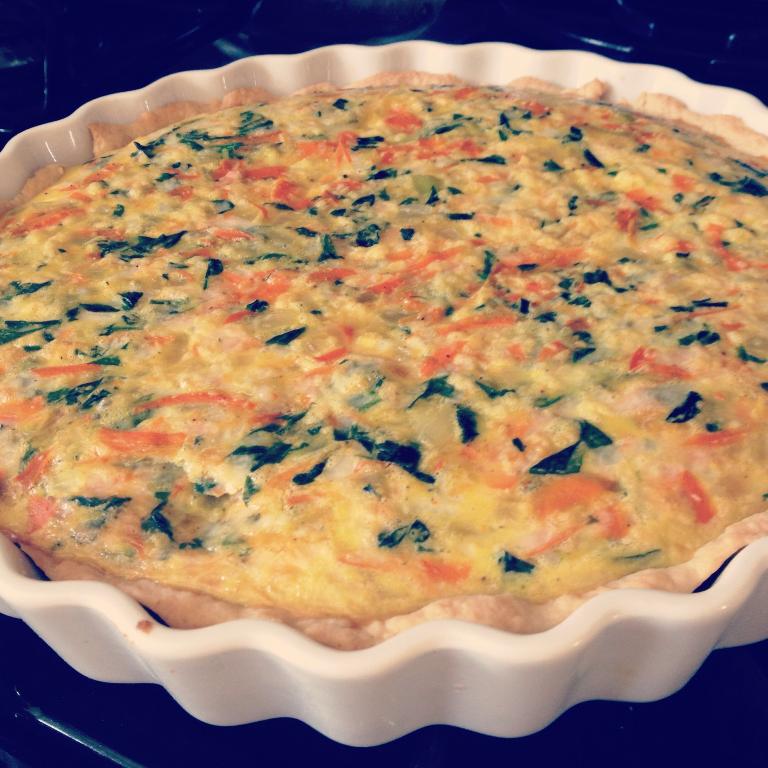
Vegetarian Goddess Quiche Brunch Recipe

01/10/2013

As you know, I’ve blogged recipes here in the past but have never actually made it one of my focuses at all until now. Having recently become a vegetarian and focusing much of my energy on being a domestic goddess I’ve become passionate about cooking and crafting my own recipes again as well as updating my old meat-inclusive recipe box creations.

With inspiration from my love I have began to embrace vegetarianism and healthy eating so I have updated my quiche recipe to fit our diet and to give him a little tasty and healthy pampering after a long work day.

servings: 19″ pie (serves 5)
prep time:
cook time: (10 min for veggies, 30 min for quiche)
total time:

Ingredients

1 pie crust
4 eggs
1/2 cup shredded carrots
1/2 onion diced
1/2 cup fresh chopped spinach
1 clove garlic crushed
splash of olive oil
1 cup shredded cheddar cheese
dash of nutmeg
salt and pepper to taste

Preparation

1. Preheat oven to 350 degrees F.
2. Heat oil in a medium skillet over medium heat and cook the vegetables in order of firmness until tender.
3. In a large bowl add sauted vegetables, cheese, eggs and spices and mix together.
4. Pour the mixture into a pie shell.
5. Bake quiche for 30 minutes in preheated oven on middle rack and enjoy.
Crafts DIY

Quilt an Easy Blythe Doll Duvet

11/15/2011
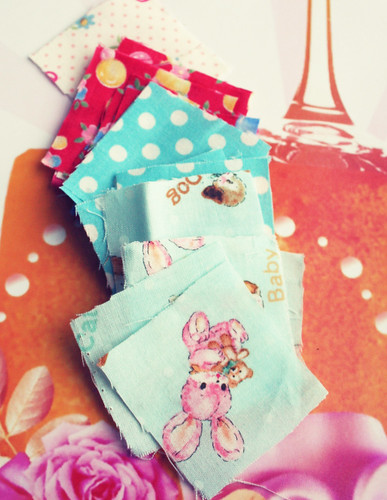
pile of squares

This is an easy charm quilt pattern for a beginner. I am COMPLETELY new to quilting. In fact this is my very first quilt so I’ll be learning along with you! Because I am so new I looked at a few patterns, one for a rag quilt, one for a charm quilt and one for a baby quilt, and altered them a bit for my Blythe-sized doll quilt. Remember this is a rag doll quilt so it’s not going to look pristine unless you are a seasoned quilter which I definitely am not. Also be sure to read to the end of this post for things learned upon making this. 😉
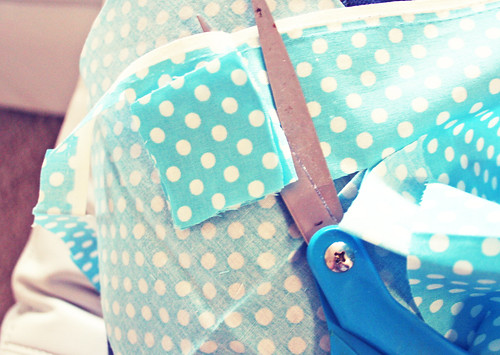
cutting the squares
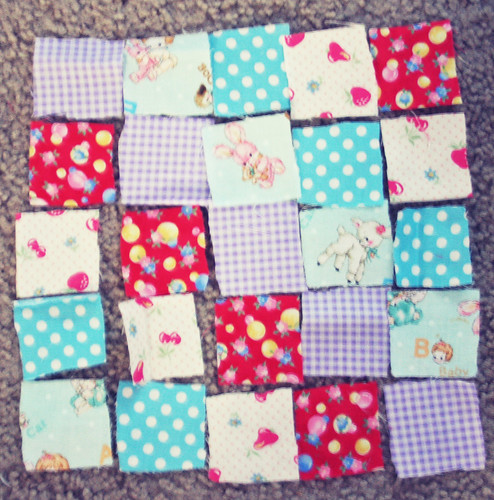
line them up (blurry!)

First cut out 25 1.5 inch wide squares of your chosen fabric(s) and lay them out as you would prefer them to look by your sewing area. If you want a rectangular quilt you’ll need to cut 5 rows of 8 squares = 40 squares.

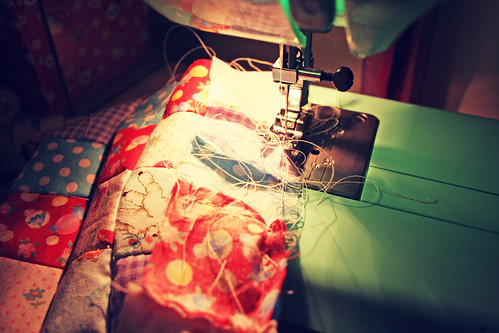
sewing charms
sewing messily

Next sew 5 rows of 5 squares each with a 1-2 cm seam allowance. After you’ve sewn all of your rows press them and sew them in numerical order to each other (see how messy I sew??).

Next cut out a thin piece of fabric in your desired pattern the size of your quilt and piece them off sides together if you’re quilt stitching. Quilt stitching is the part I don’t understand so after doing extensive research online I found out that there really is no easy way to do it. You can do it yourself or ask a quilter to help you out. You can find a pattern online and follow the pattern by hand or machine. I chose to skip it.

sewing

To give your quilt a more finished look you’ll want to bind the borders with fabric — or make it easy and use thick-ribbon. I’m also new at binding so I decided to skip it this time and sew my quilt to the other panel as though I was making a pillow. I put them right sides together and sewed around the edges leaving a small (2-3 inch) space. Then I turned the blanket right-side out and, because I am not a quilter, sewed a line from one corner to the other making a big X to keep the pieces together.

sew a doll quilt

Things I learned: Next time I’m going to make it 5 squares by 8 squares for a Blythe-bed sized quilt. I didn’t think about how small it would be getting upon sewing it, duh!

Crafts DIY

Let’s Make & Receive Surprise Balls!

11/12/2011

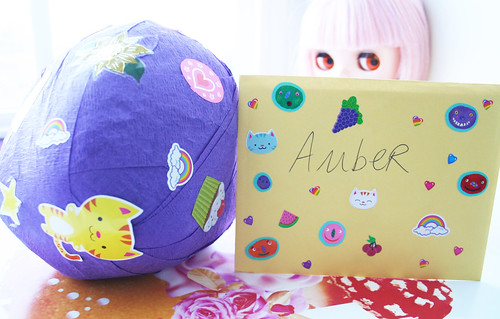
Remember my post about surprise balls? How I promised to post a tutorial soon and a feature on the ball I recieved? Well this is that tutorial and feature! I even got the chance to host the surprise ball swap this time around which has made me so inspired and excited! I just love swapping these things! If you’d like to buy one I also have them in my shop! I told you I was surprise ball crazy!

surprise ball

You’ll Need

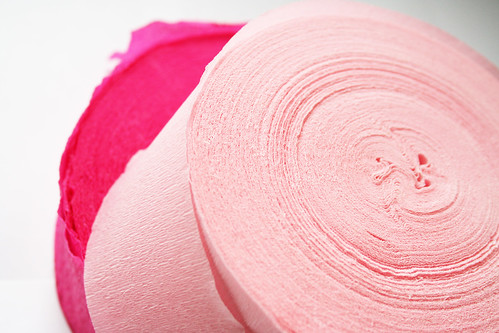
  • crepe paper streamers (in a couple of colors!)
  • 10-20 candy and small gifts
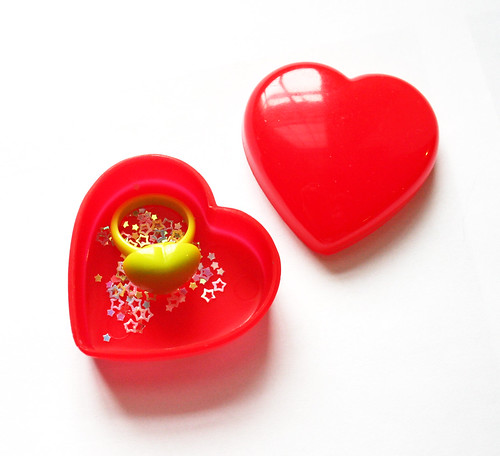
  • a plastic capsule or small box
  • a sticker or label
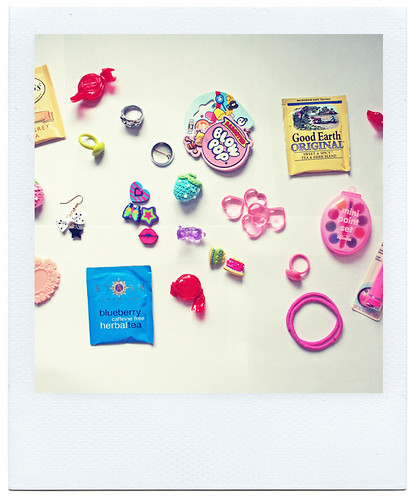
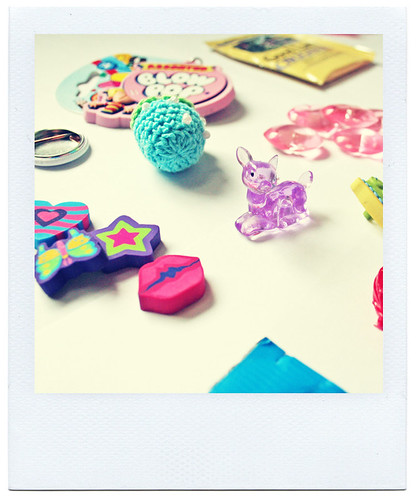
surprise ball prizes

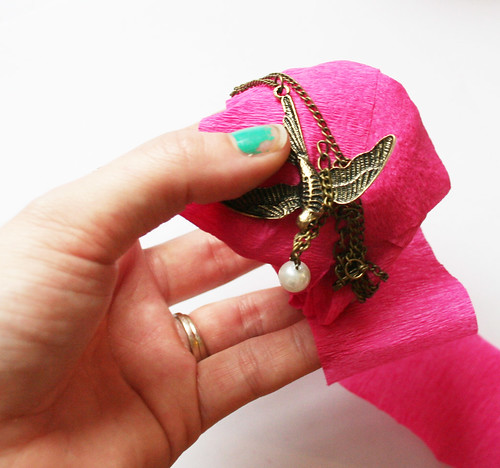
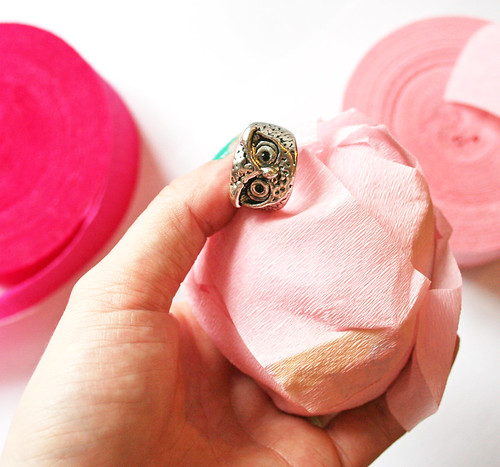
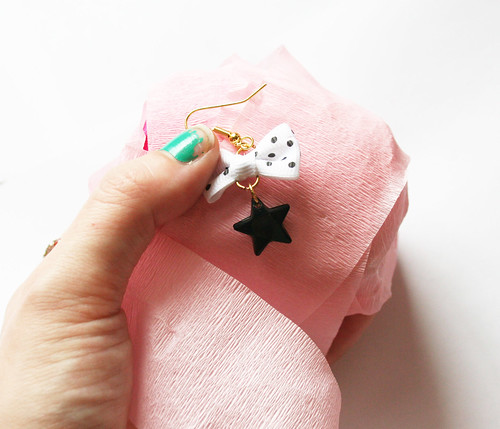
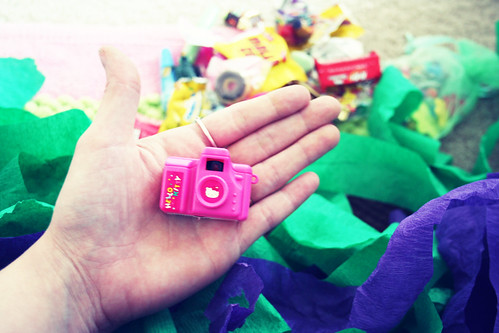
Collecting the gifts is almost as much fun as making the ball! If you’re making it for someone be sure to include things they like. Some ideas of what to include: candy, small toys, jewelry, stickers, memo pads, erasers, rubber stamps, ink pads, glitter, craft supplies, tea, keychains, beads, charms, small tubes of glitter glue, etc.

surprise ball

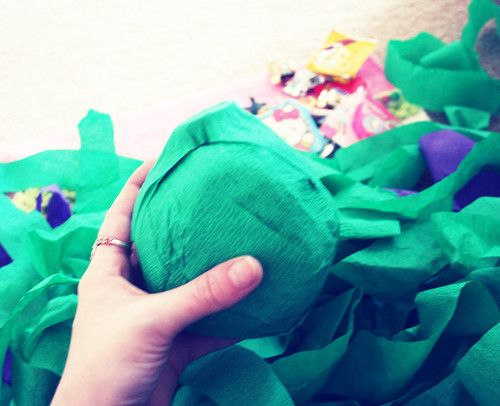
Start with your plastic capsule or small box and fill it with one of the gifts. Then wrap the crepe paper around it until it’s covered.

surprise ball

Next add another surprise and wrap it up. Make sure you keep wrapping a bit after each gift so that they don’t fall out too fast!

surprise ball
surprise ball
surprise ball
surprise balls

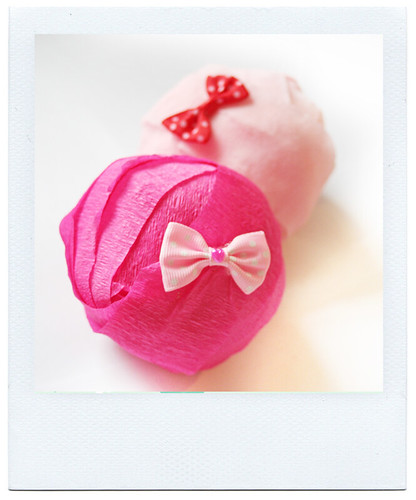
Continue adding surprises and wrapping them up until the ball is finished then tape the end down and top with a cute sticker or label.

Now.. as if it wasn’t enough fun to *make* these I actually received one as well (from the original swap). I was so excited about opening this rainbow-covered ball that I giggled the whole time as candy and kawaii gifts fell into my lap. This ball was extremely large and took quite a long time to unwrap! My partner is a surprise ball pro! Thank you so much!

surprise ball received
Crafts DIY

Let’s Start Decopatching!

11/08/2011

That’s right, I said decoPATCH not decoupage! If you’d like to know the difference between the two, this article is a great place to start.

I decided for this article I would need something around the house that needed a makeover so I found a natural wooden frame, a table worn on the top and an empty cocoa tin.

If you want you can use actual decopatch paper, glue and sealant but I did this with things I had around the house.

You Need

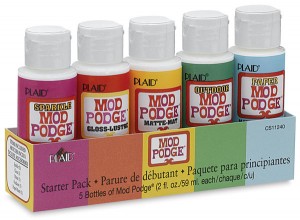
  • Mod Podge (glossy)
  • Paper scraps
  • Something to decopatch

decopatch scraps

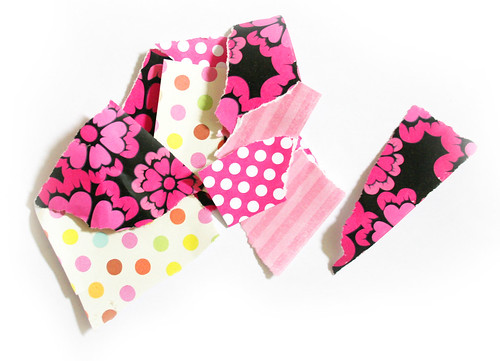
First I collected torn pieces of paper that sort of followed a theme. My theme was kitschy-sweet as usual. Too excited but nervous to start with the table I decided to start with some junk I had saved, a cigarette box and an ATC-sized (2.5 x 3.5 inches) card. I used the same thin paper for each that I had torn into small and medium-sized pieces. Then I covered my box/card in Mod Podge (glue) (I know there’s decopatch glue and varnish but I’m a Mod Podge addict.) and smoothed down the strips of paper. Last I covered the paper in a layer of Mod Podge (varnish) and let it dry. How easy was that?

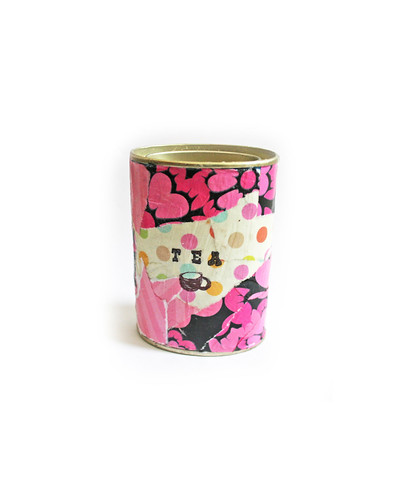
Next it was time to try my luck on the tin. I tore out assorted pieces of paper this time and followed the same instructions above. Now I have a kawaii place to keep tea, coffee and small things.

tea tin


Stay tuned for next time when I’ll be decopatching a frame and table with decopatch paper from France.

DIY Scans

Kitschy Scans: Vintage Flower Girl

11/07/2011

Today I scanned cute flower girl for you to use to your heart’s content in craft and collage. To download right click the image and load the link in a new window then save the image to your hard drive.