Browsing Tag

beads

Crafts DIY

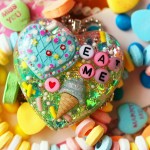
Lace for Your Jewelry: Resin Pendant Tutorial

11/15/2018

Resin can be a fun hobby or business for the crafty miseducated diva in all of us. The possibilities are endless, allow your creativity to run wild and create pieces that are quite unique and fun. With some initial prepping steps, you can suspend just about any material in resin.

In this basic tutorial I will be casting jewelry pieces with resin, but you can use resin for whatever else you would like to make like paperweights, coasters, soap dishes and many other things. There are even many different types of resin that can be used, for different types of desired uses.

I myself use a two part casting resin that is pretty user friendly. I am a novice at resin, just learning as I go and getting better each time. Its fun and I thought I would share some basic tips and give crafty divas something new to try…cause like me I know with all this creativity you have inside of you, you always want to try something new. So this is something for you gals who are aching for a new creative outlet.

I chose to cast fabric for the purpose of this tutorial. I have played with sprinkles, glitter, and candy before. So I thought I would try something new, so here goes….

resin

Supplies

  • Easy Cast Resin
  • 2 Plastic Cups
  • 2 Stir Sticks
  • Wax Paper
  • Paper Towels
  • Resin Molds
  • Fabric of choice
  • Mask
  • Gloves
  • Timer

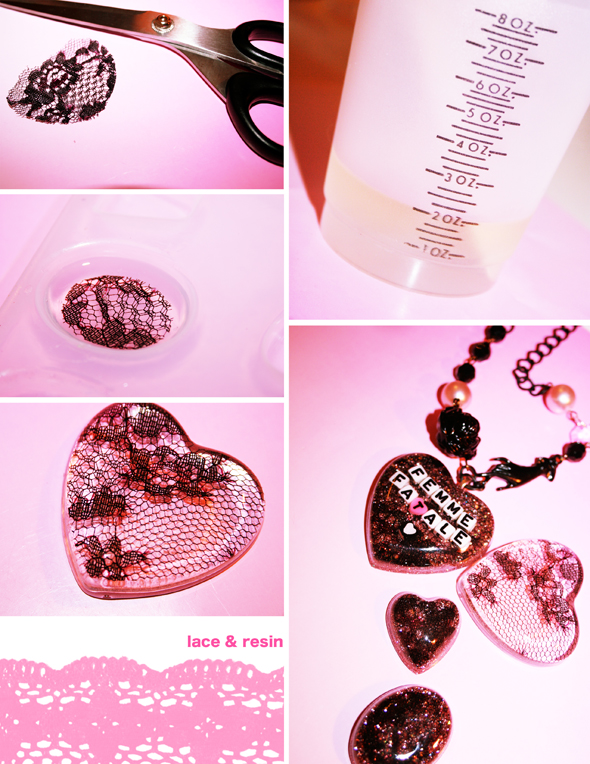
Before hand I prepped my pieces of fabric by cutting them a little smaller than mold shape, and sealed them off with mod podge, or you can use an acrylic sealer if desired.

Instructions

    1. Take a plastic cup and pour in 1 oz. of resin, then pour in 1oz. of the hardener in the same cup, so you end up with 2 oz. total. (Easy Cast has a ratio of 1:1)

    2. Take one of the stir sticks and gently mix the concoction, make sure not to whip as it causes air bubbles. Scrape the sides periodically and mix well for 2 minutes. The mixture will look cloudy at first but this will clear up after resin and hardener are mixed together thoroughly.

    3. Take this mixture and gently pour into your other clean plastic cup. Stir gently again for 1 minute this time. The mixture at this point should be clearer than before.

    4. Set mixture aside for 5 minutes, so the resin can self-degas. Take this time to clean up a bit and get your mold and fabric piece(s) ready.

    5. When ready, pour a little bit of resin into each mold, about a quarter full.

    6. Then place cut fabric, right side down into resin. You can use a toothpick to position and press fabric. This will also help remove any air pockets trapped underneath the fabric that can caused some bubbles.

    7. Then this is where you will need to practice some patience…let the piece(s) rest overnight or for several hours until cured. You can check if it is cured with a toothpick, this way no fingerprints will be left behind.

What I covered in this tutorial are the basics, but you can get more creative by adding different layers. Below are photos of some layer pieces I created, I hope you find them inspiring.

After your pendants are cured, you can jazz them up by drilling holes, adding jump rings, gluing on bails, posts, brooch settings, what ever you like, let your imagination run wild, its all up to you! Your end result will be beautiful and unique pieces.

A great source of reference and inspiration of mine is a book that I turned to when first approaching resin after multiple searches on Google, a book called “The Art of Resin Jewelry” by Sherri Haab. In this book she goes over in detail all different types of techniques with resin, like the so fun and yummy candy jewelry.

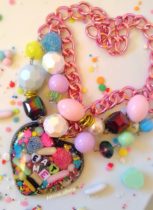
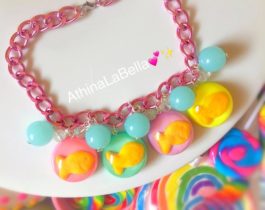
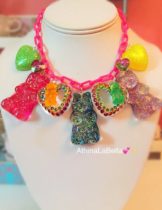
Athina’s Creations

See more in my shop here.

Originally published on 12/08/2009.
Artist & Designer Features Design Your Life

Step into StoopidGerl’s Delicious World of Wonder

07/10/2013

Bang Bang

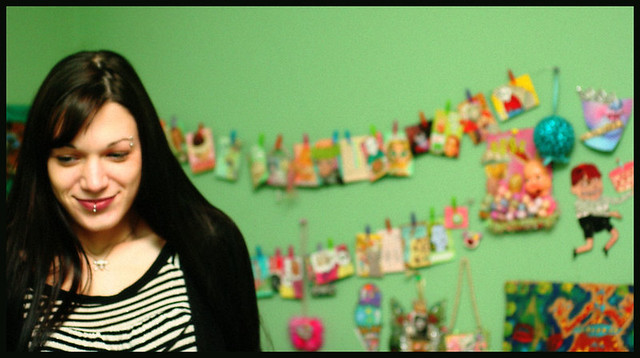
Kim (aka StoopidGerl) is one of my closest online friends. We are both colorful artists that had adorable baby girls very close in time to each other, her Chloe Pearl was born several months before Colette Fawn and we learned a lot from each other along the way. Our pasts share many similarities as well so it’s no wonder that we hit it off immediately once upon a time. I’ve been planning a feature on Kim and her amazing creations and splendid aesthetic for WAY TOO LONG and here it is!

So as you’ve probably noticed I’ve been featuring a lot of my favorite artists and handmade mavens. I feel Kim (stoopidgerl) fits with the Miseducated way of life as much as anyone I know, her work reminds me what earth would look like if many of our rainbow-obsessed, candy-coated brains puked all over the place. Her style is no ones but her own and if you look into her world you’ll never want to leave. Please visit her gorgeously kitschy shop to purchase any of her works of art.

How long have you been crafting your world (your intoxicating-eye-candy photos and dazzlingly-saturated-with-color pieces of jewelry)?
I got started a few years ago. Working from home has been a dream come true!

When did you decide to turn that hobby into a business?
After I graduated from school I somehow ended up working a super crappy job at a Sears Portrait Studio. Going to work there made me want to kill myself! It was HELL on earth. I got pretty fed up with it and ended up quitting one day. I needed something to do and I needed money. I had been selling on Etsy for awhile and then I decided to take the plunge and try to do it for a living. I don’t know how it happened but it was magical! My shop took off quite quickly. I really love what I do and I think that is the key to my success!

All of us reach creativity blocks at some time.. where do you find inspiration when you reach a block?
The nearest candy shop~!

A lot of my inspiration comes from the past… movies I’ve seen, people I used to hang with, places I visited, my childhood…

Sometimes I find that browsing Flickr is inspirational. I love to just get lost in Flickr. I could spend hours browsing photos and adding them to my faves! There is some phenomenal shit out there!

Do you have a favorite piece of jewelry that you have made?
Oh my goodness it is hard to pick just one but if I had to choose my absolute favorite I would go with this~
Rainbow Bright Heart
It is impossible to be in a crappy mood when you surround yourself with so much color. This necklace is a sure pick-me-up when you need one!

Do you have any exciting stories about the purchase of one of your pieces?
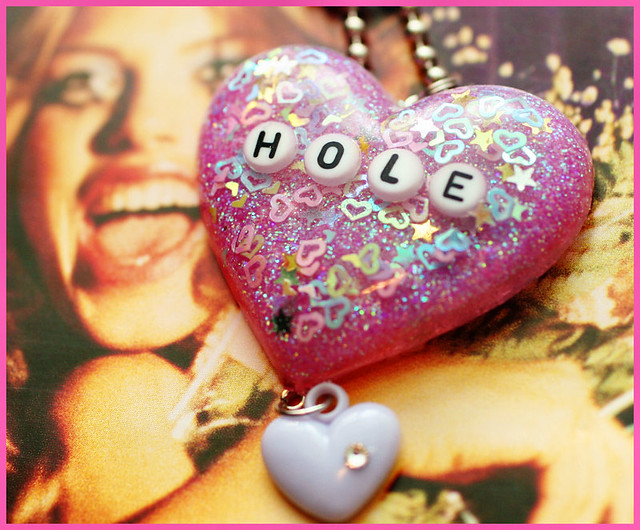
I shit myself with glee when Courtney Love purchased a necklace from my shop several years ago.

Miss World - HOLE resin necklace

What inspires you when decorating your space?
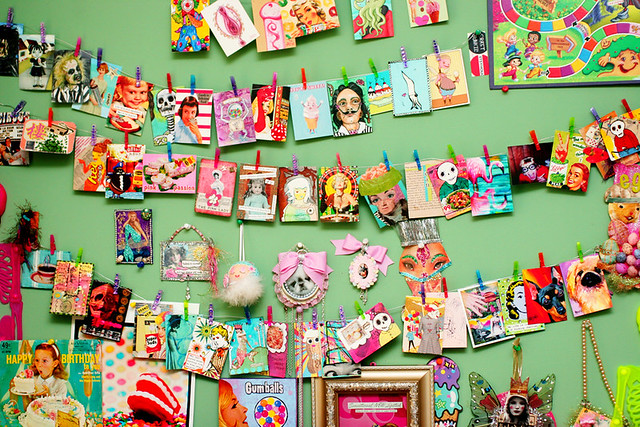
…the pursuit of happiness! I love all things that are sweet, rainbowy, clownlike, kitschy, and cool.

workspace 09-30-08 (2)

What sort of things are must haves on display in your home?
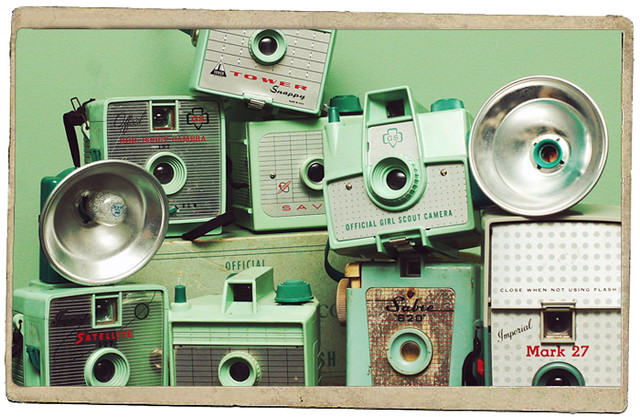
I have been a collector of cameras ever since I went to school. I took a short break from collecting for awhile and recently got back into it. I have a neat little collection of minty green vintage cameras that sits on a shelf in our living room.

all here

I also have to have clowns… lots of clowns.

Do you have any tips for readers trying to design their world?
Don’t worry about sticking with any sort of theme… just go with the flow and hoard all the things you love!

Eat Cake

You can purchase Kim/StoopidGerl’s amazing creations at her rad Etsy Store.

Crafts DIY

Make Your Own Beads Out of Sand

08/21/2010

This perfect summer craft originates from the Bahamas and other tropical places where they are blessed with beautiful sandy beaches. Die-hard jewelry makers will use just about anything to make jewelry with, even the beach itself! If you are lucky enough to live by the beach and have access to any department store or craft store, then you can make your own sand beads from scratch. It is a bit time-consuming to roll and shape all of your own beads, but its worth it in the end when you have tons of colorful beads to make all the jewelry you want!

IMG_0842

You Need

Fine sand (from the beach or from the store)
All purpose flour or papier-mâché
Elmer’s Glue
Wax paper
Vegetable oil

If you got your sand from the beach, sift it through a cheese cloth or a window screen to separate the larger grains from the fine stuff. Pour the fine sand into a bowl and mix in the flour or papier-mâché and mix it together well. You need to use equal amounts of flour and sand. Coat your hands lightly with vegetable oil so the sticky paste that you’re about to make won’t stick to your hands. Pour in your Elmer’s Glue slowly and knead it with your hands like bread dough. If it starts to harden before you’re done mixing, add more glue. If your hands get too crusty as you work, rinse your hands off and apply more oil. Also, if you are using beach sand and you want to add color, mix in some acrylic paint.

Break off pieces of the sandy dough and roll them into your beads. This is where you use your imagination to create the beads you will use for your jewelry. Make many different colors and sizes, or make a series of the same kind for a long beaded necklace. You can also make short tube-shaped beads, square ones and irregular shaped beads.

Set your beads on a piece of wax paper and let them dry overnight. Use a large sewing needle or any other sharp metal skewer (be careful!) to poke a hole through the middle of each bead. You need to do this while the beads are still slightly tacky, but not so soft that you squish the bead. Let them dry all the way.

Coat them with clear acrylic varnish to make them glossy and protect them, if you want. Now you can make your homemade jewelry for yourself and your loved ones!

IMG_0844

More Ideas

Substitute half of the sand (or less) with fine glitter to make sparkly beads.
Swirl different colors of the sandy dough together to make multi-colored beads.
Make beading kits with your left-over sand beads and give these kits away as gifts.
Add other natural beads like shells and tiny pieces of drift wood to make a real beachy necklace.
Sell your sand bead jewelry to people at the beach.

Crafts DIY

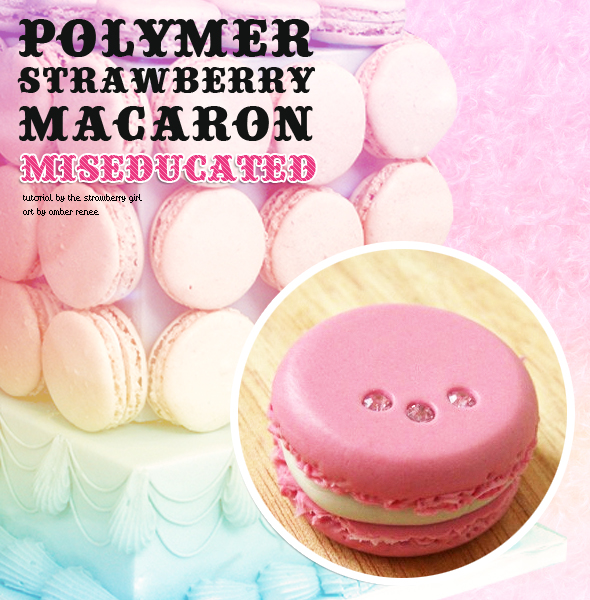
How to Create the Perfect Polymer Macarons

03/25/2009

I believe many girls love macarons. Tell me who can resist the delicious and cute looking French macaron?

macaron diy

Besides the edible macaron, macaron accessories are also very popular in Japan and all around the world. There are may ways to make macaron accessories for yourself or for your little Blythe. The simplest way is to use air dry clay or polymer clay. In this tutorial, I choose to use air dry clay because I don’t like to use polymer clay that has to be cured in the oven.

macaron diy

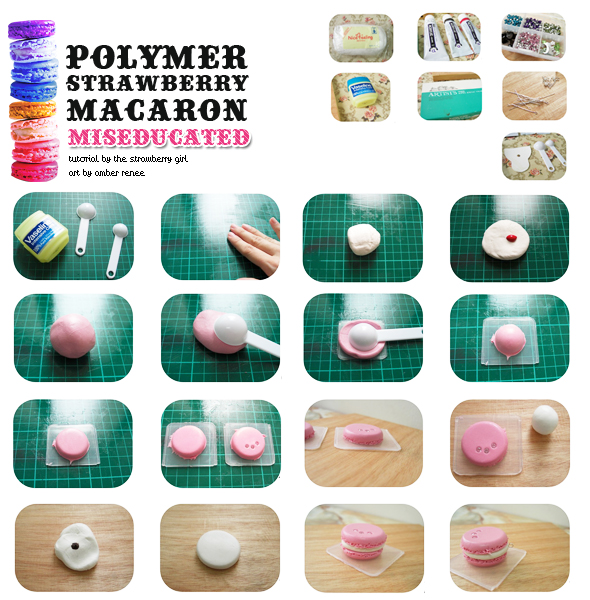
You Need

Acrylic paint (any colour you prefer)
Clay cutter and measurement spoon (size is up to you)
9-pin
Embedded crystals (any colour you prefer)
Vaseline Petroleum Jelly or hand lotion
Air dry clay (you can use polymer clay which needed heat up in oven to cure)

Steps

1. Apply the Vaseline (or hand lotion) on the tools and surface that will contact with the clay. This step is important to avoid the clay stick at the tools or surface.
2. Apply the Vaseline on the surface and your hands too.
3. Cut this amount of clay (enough to make two macarons).
4. Put a little red acrylic paint on top of the clay (I chose red because I want to make a pink macaron).
5. Twist and rub the clay until the colours mixed evenly with the clay.
6. Then put the measurement spoon on top of the clay.
7. Press down so to get a shape alike the shape of the measurement spoon
8. Please see if it looks like the photograph above.
9 Then use any flat surface to press it down until it looks like this.
10. Repeat the step 6 to 9 for the bottom piece. Some embedded crystals are put on top of the top piece.
11. As shown in this picture.
12. Cut this amount of clay.
13. Put a little bit dark brown acrylic paint on top of the clay (to add some colour to the filling) then twist and rub the clay until the colour mixed evenly with the clay.
14. Then use any flat surface to press it down until it looks like this.
15. Sandwich the white clay in between the top and bottom pieces of pink macaron.
16. If you want to make accessories with it, you have to add a 9-pin. Enter the 9-pin from the side.
17. Set aside the clay macaron for two days for completely air dry.

Tips

1. I recommend you to trim your nails first before handling the clay, because clay tends to stick to long nails.
2. Make sure all the tools and surface are dust free to avoid any dust twisted or rubbed into the clay.
3. In case the clay become dry, add a few drop of water to get back the flexible feeling.

Mise en Snap Visual Splendor

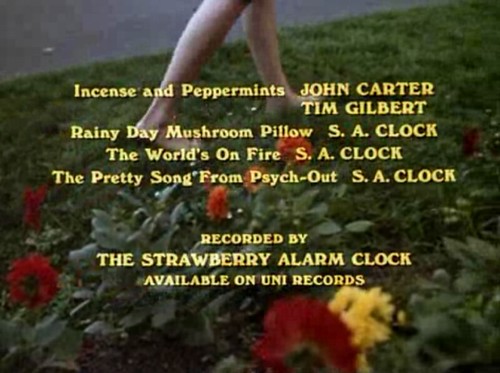
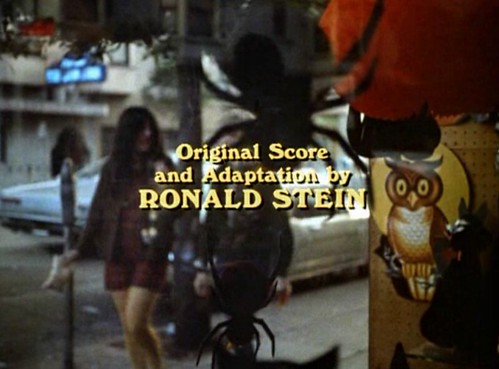
Mise en Snap: Psych-Out! a 70s Visual Trip

01/20/2009

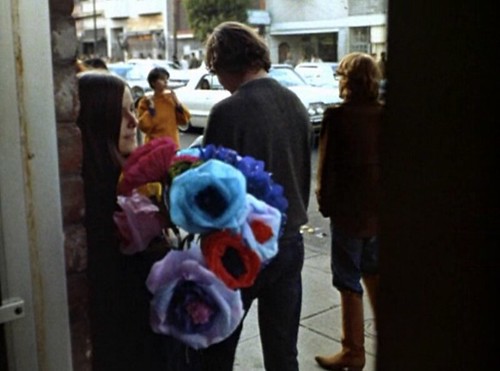
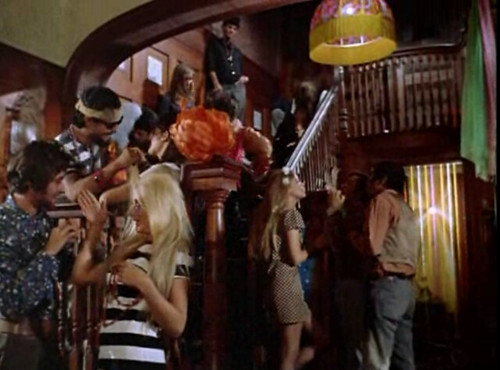
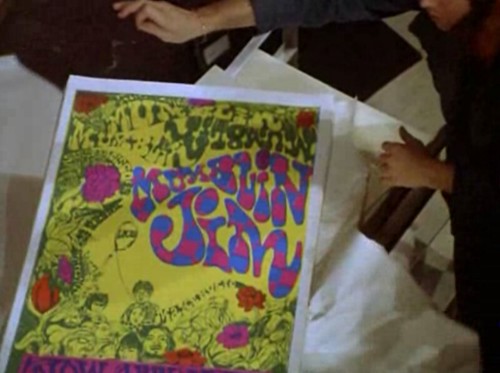
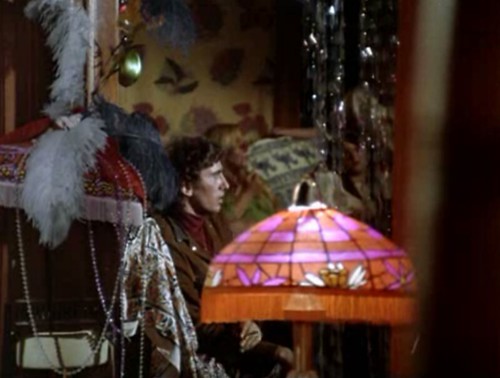
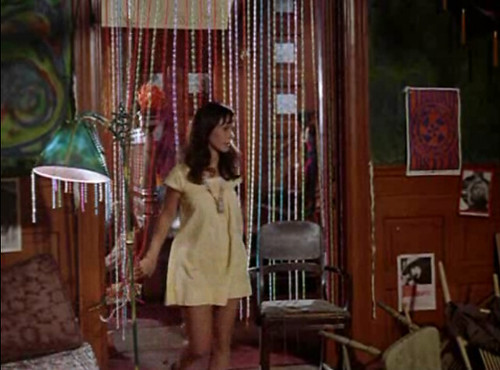
Take a trip down psychedelic, vintage lane in “Psych Out” a trippy dippy film from the 70s.

psych~out

flower patch

giftshop

ashbury x haight

oracle

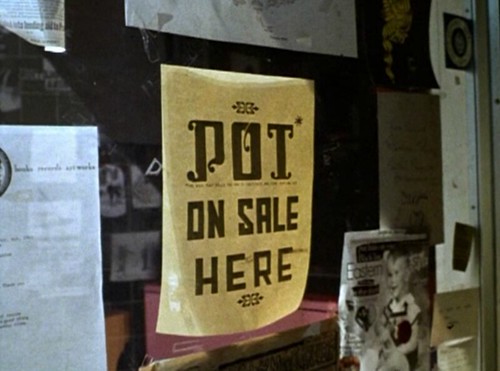
on sale

paper roses

makeup

A dark, thick liner paired with a bright, rainbow hue and nude, shimmery lips has always been my makeup regimen. Add glitter and you’re ready for a party.

flower smile

Cheer up a friend and give them a thoughtful gift. Strapped for ideas or cash? Try a single flower, sketch or candy bracelet and channel the love-passing, pay-it-forward smiles of flower children and candy ravers everywhere.

staircase

This was so rad, everyone was lounging around while some girls started pulling glittering beads all up and over the staircase. It created glimmering prisms in the hands of everyone as they grabbed more strands to pull and hang. The completion created a spiderweb of starlight.

flyer

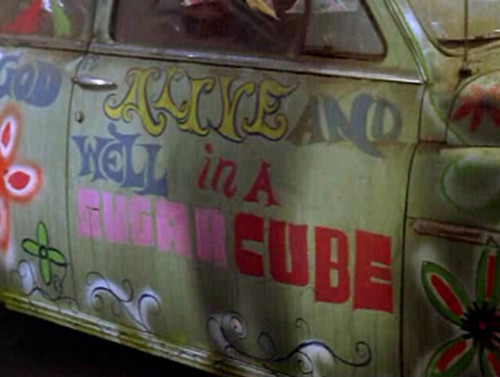
van

lamp

curtain

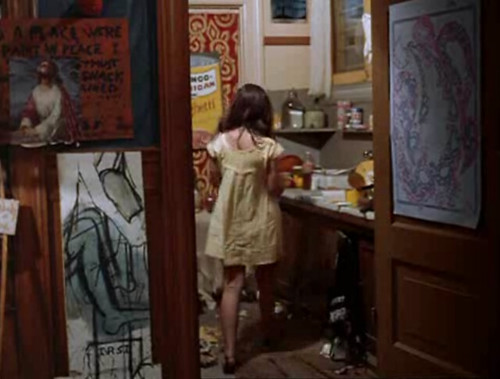
doorway to dishes

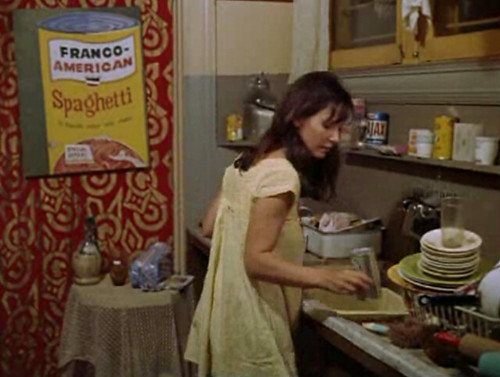
kitchenette

god is alive and well in a sugar cube

“God is alive and well in a sugar cube” (a reference to LSD as it is injected into sugar cubes)

love

party trip

Don’t ever take drugs in an uncomfortable setting. Especially LSD.

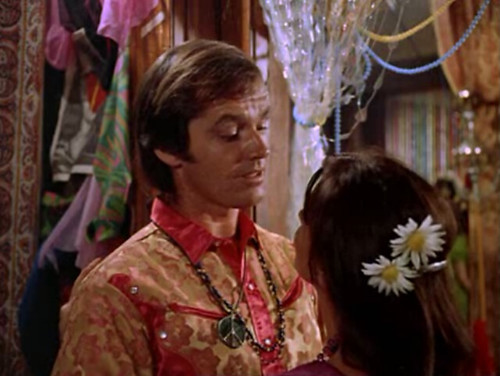
oh, jack

Jack Nicholson, aka Stoney, plays a too-cool hippy and blows off his lovely, tripping Alice.

This movie is absolutely fun and visually stimulating for those who adore the drug and hippy culture of the 60s. It proves a point however as a propaganda film that drugs can be very dangerous when taken in unsafe circumstances and you’ll also watch lovely people deteriorate as they do not follow this guideline.

Crafts DIY

Cute as a Button Earrings You Can Make

01/13/2009

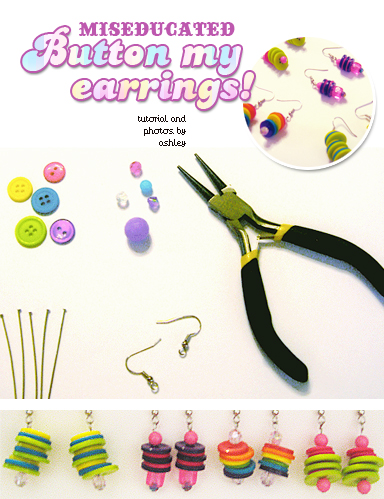
Most of us have seen button stud earrings, and maybe even the cluster button earrings. Either way, here’s a new twist on the popular trend. I call them Swivel Stacked Button Earrings. They are extremely easy to make, and can be done using all kinds of variations, colors, and different kinds of beads.

button my earrings

What you’ll need

Flat Headpins (preferably the long ones)
Buttons in assorted colors and sizes (you could also experiment with different shapes for unique looks)
Various beads (small ones are used to keep buttons on headpin, while others can be used for decorative purposes)
French Hook Earrings
Wire Trimmers
Needle Nose Pliers

Step 1

Since most buttons have too large of a whole, you’ll need to first put a small bead on the headpin to keep buttons from sliding off.

Step 2

Take your buttons and put them on in any order you want. You can vary from size or colors depending on the look you want. At this point, you can also add various beads if you choose.

Step 3

Once you’ve got your earrings looking the way you want, it’s time to attach the headpin to a French hook earring. Assuming you have quite a bit of length left on your headpin, this is where you can trim off any excess. Be sure to leave enough length to make a loop to attach your earring hook. Now you will use your needle nose pliers to loop the excess of the pin (like a jump ring) so the earring hook is attached. Make sure you close your loop tight enough so they don’t slip off your earrings.

If all went well, you should now have a funky pair of dangling earrings!

Crafts DIY

Easy, Colorful Jewelry and Plasticandy Bracelets

11/10/2008

I guarantee if you enjoy making cute, simple items this has been or will become your new favorite hobby. Preferably when drinking, relaxing, listening to records grab out your big bowl of pony beads and plastic jewelry bits. Grab some elastic cord, elastic string, invisible elastic, etc~ make sure it’s stretchy and not annoying to work with. Go to a craft shop and look in the bead/jewelry section to find a selection of elastic cord. Double stringing the bracelets is also a great idea if you’re rough on your jewelry!

starbrights plasticone

Next, pick out a color scheme or shapes you like and string the beads onto the double cord. When the beads are on the cord long enough that you can easily wrap it around your wrist with no spaces between beads, Tie it. Tie it very secure and then dab a drop of clear nail polish or super glue on the knot and let it dry.

After it’s dry put the bracelet on or give it to a friend (ideal). Deck your arms out in your best ones when you’re going out to a fun club, party or rave for the night and hand out bracelets to friends and people you meet. You’ll find that when you go out and have fun you’ll usually come home with one or no bracelets. Now it’s time to make more!