Browsing Tag

blanket

Crafts DIY

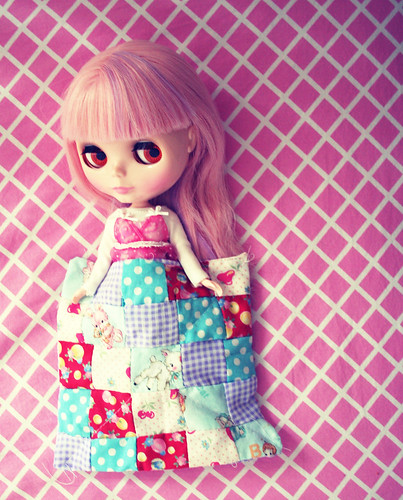
Quilt an Easy Blythe Doll Duvet

11/15/2011
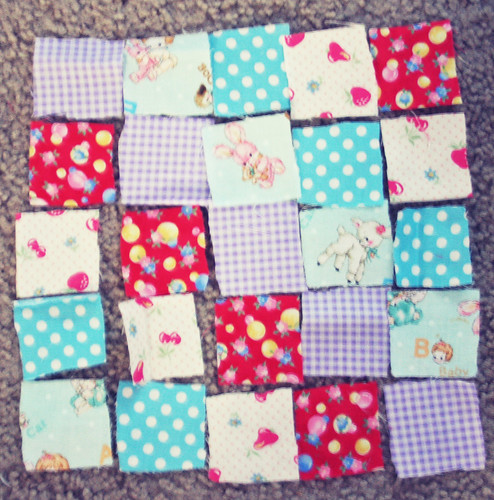
pile of squares

This is an easy charm quilt pattern for a beginner. I am COMPLETELY new to quilting. In fact this is my very first quilt so I’ll be learning along with you! Because I am so new I looked at a few patterns, one for a rag quilt, one for a charm quilt and one for a baby quilt, and altered them a bit for my Blythe-sized doll quilt. Remember this is a rag doll quilt so it’s not going to look pristine unless you are a seasoned quilter which I definitely am not. Also be sure to read to the end of this post for things learned upon making this. 😉

cutting the squares
line them up (blurry!)

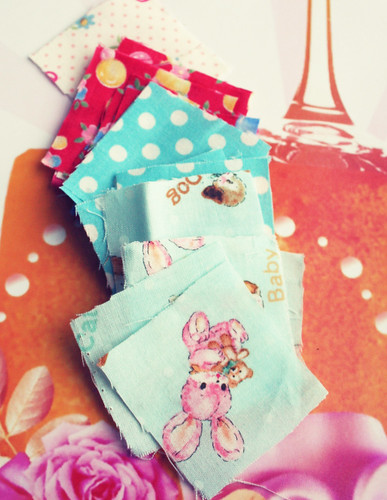
First cut out 25 1.5 inch wide squares of your chosen fabric(s) and lay them out as you would prefer them to look by your sewing area. If you want a rectangular quilt you’ll need to cut 5 rows of 8 squares = 40 squares.

sewing charms
sewing messily

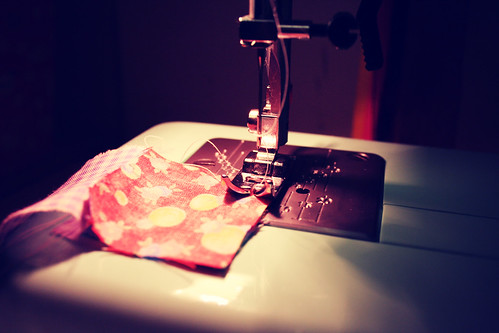
Next sew 5 rows of 5 squares each with a 1-2 cm seam allowance. After you’ve sewn all of your rows press them and sew them in numerical order to each other (see how messy I sew??).

Next cut out a thin piece of fabric in your desired pattern the size of your quilt and piece them off sides together if you’re quilt stitching. Quilt stitching is the part I don’t understand so after doing extensive research online I found out that there really is no easy way to do it. You can do it yourself or ask a quilter to help you out. You can find a pattern online and follow the pattern by hand or machine. I chose to skip it.

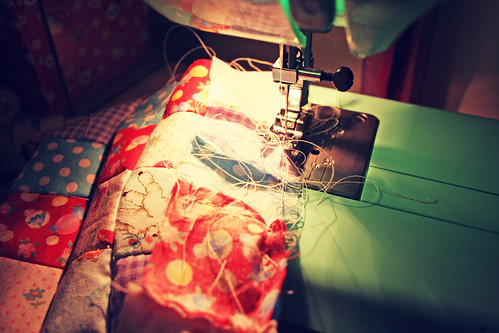
sewing

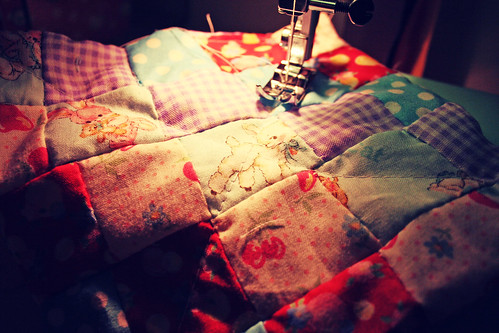
To give your quilt a more finished look you’ll want to bind the borders with fabric — or make it easy and use thick-ribbon. I’m also new at binding so I decided to skip it this time and sew my quilt to the other panel as though I was making a pillow. I put them right sides together and sewed around the edges leaving a small (2-3 inch) space. Then I turned the blanket right-side out and, because I am not a quilter, sewed a line from one corner to the other making a big X to keep the pieces together.

sew a doll quilt

Things I learned: Next time I’m going to make it 5 squares by 8 squares for a Blythe-bed sized quilt. I didn’t think about how small it would be getting upon sewing it, duh!
Crafts DIY

Inexpensive Do-It-Yourself Gifts

03/09/2009

This whole economic downturn has left a lot of the country in a sorry mess, but I’m not here to wallow in financial troubles. No way! I view the scarcity of cash as a wonderful excuse to get crafty! And it’s always more fun to craft for someone else which is what inspired me to create this article.

These gifts are easy to make and inexpensive, to boot! You can make them for a loved one “just because” or give it away for a special holiday. The choice is yours.

diy gifts

Hearty Bread and Jam

For you domestic creatures out there, put your skills to use! Everyone loves an edible gift, especially if it’s made by you! Jam/Jelly is a very easy item to make, it just takes a little bit longer than some foods. Bread and jam come in a variety of forms, so choose the best one for your recipient.

Cozy Blanket

Blankets are also very customizable, making them an ideal gift for any time of the year. Try these different types of blankets:

Crocheted – Choose your recipients favorite colors and have at it! They’ll be thrilled with the amount of time and effort you put into their present.

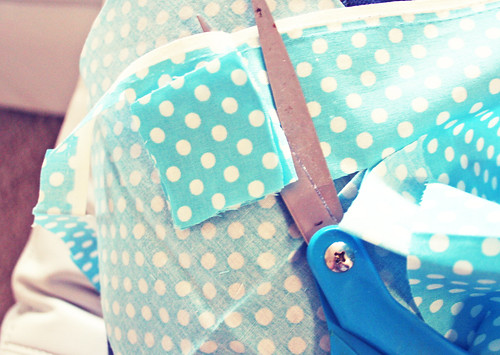
Tied – Buy two different types of fabric that complement each other. Make sure that you get a big enough size that it serves as a blanket. Both fabrics should be the same size. Next, spread the two fabrics on the floor (one on top of another) and cut around the edge. Each cut should be 2-4 inches deep. Next, tie the two fabrics together (double knot). Do this all around the edge of the blankets. Viola!

Customize – (an already made blanket) One of my favorite gifts from a friend was a blanket that she bought inexpensively and did stitch work on. It was thoughtful and unique!

Quilt – You don’t need to necessarily buy quilt material, but you can if you want. Choose several types of fabric that you like and cut them into squares all the same size. Next, sew them all together. Buy another piece of fabric and sew it onto the quilted part of the blanket.

Lovely Soap

I come from a very large family and some of my fondest memories are from the holidays when we would all work together to make presents for extended family members. One of my favorite things to make and give away was soap and other DIY beauty gifts.

The great thing about soap is that it’s practical and customizable. This is an easy soap recipe. (You can make your own from scratch with this recipe from www.thefarm.org) Here’s what you need — You can find all these items at your local craft store.

– Soap Block (available at your local craftstore)
– Soap Molds
– Scented oils (your choice)
– Other items for your soap (eg. Lavender, oatmeal, almonds, cinnamon, chocolate, etc.)

There are step by step instructions on the soap blocks and it’s very difficult to mess up. Melt your soap blocks, add scents and ingredients of your choice and let it sit in greased soap molds until hardened. Remove and place in pretty packages or gift baskets!

* Also get some wonderful ideas for soap from this Miseducated article.

Scrumptious Chocolate Covered Strawberries

First, buy about 5-15 healthy-looking strawberries. When you get home, make sure there aren’t any bad spots (if there are simply cut them away). Choose the prettiest ones and keep the green leaves on top – they look more beautiful that way.

While you’re at the grocery store, pick up some dip-able white chocolate. You can usually find this in the crafts section or near the produce. Also pick up some red food dye.

Melt your chocolate in the microwave in bursts of 15-20 seconds. It doesn’t take long to melt the chocolate so be sure to keep an eye on it.

Set aside some of the white chocolate and then add 2-3 drops of the red food dye to the remaining white chocolate. Dip your washed strawberries into the pink chocolate and place on wax paper. Next, dip the bottom part of a spoon/fork into the white chocolate and drizzle on top of your pink strawberry to add a decorative effect. Place in the refrigerator until they are cooled.

You can mix up the chocolate colors (ie. White dipped, pink drizzle; dark dipped, white drizzle) and place the strawberries in a sweet box. Add a ribbon and a card!