Before you begin
Choose boxes or frames “unfinished”; paint them with acrylic paint gold or silver (or whatever color you want, depending on your color scheme) just to have a base for the tiles to stick to. I don’t like to show raw wood between tiles because I don’t use grout in between the tiles (too messy and may scratch). Paint back and edges.
Supplies
Polymer clay (various colors)
Acrylic roller and/or pasta machine
Cookie cutters and craft blade
Stamps ( rubber or any texture you find around your house)
Acrylic paint and brushes
Metallic powders
Varnish for polymer clay
Glue (Liquid nails or Weldbond are good)
Oven (don’t use you home oven)
Creating Mosaics
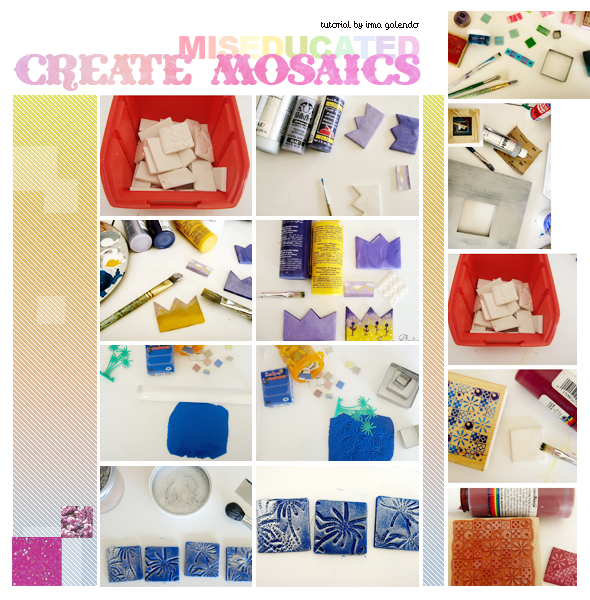
Paint white tiles as if they were little canvases using acrylic paint.. get creative! Use more than one color. Paint a single tile with multi colors or a landscape, try to make small pictures.. tell a story.
Mosaics with Texture
Cut the polymer clay until desired thickness, approx. 3mm ( see picture ). Gently stamp with your texture (I use toy palms in this case, you can use any texture like buttons, stamps, texture sheet, etc ). You can use mica powders or metallic powders to enhance the texture, then cut my tiles with the cookie cutters or a blade (squares are easy to arrange on you frame). I bake them following the instructions for the polymer clay brand. I don’t like to use a regular oven (fumes).
Mosaics with Stamps
Paint white tiles with acrylic paint, before they dry gently stamp them, it will take the paint off the tile creating a negative image of the stamp. Use rubber stamps for this and wash them after each use.
Making the Mosaic Mirror
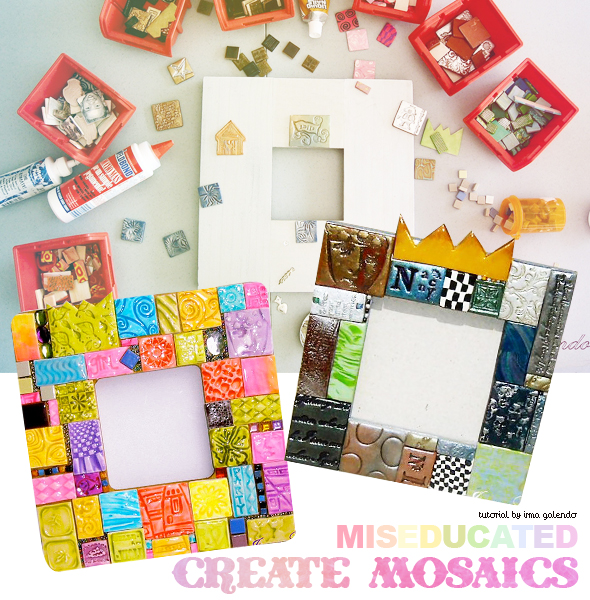
I classify the mosaics by color, so they are easy to arrange when designing the mirror.
Arrange tiles on the frame as a puzzle and when you like the composition glue each tile. You may use ceramic tiles, milagros, beads, etc. just to have different textures and fill spaces when I don’t find the correct size of tile.
The last step is varnishing the tiles.
Use your imagination and have fun!


