Browsing Tag

Design

Visual Splendor

Pretty on Penn St Apartment Tour

08/11/2009

A gem hidden downtown was this adorable little city building. Upon entry the antique tile floors, mail room, paneled walls and arched ceilings made way for a lovely place to collect your mail from the original mailboxes.

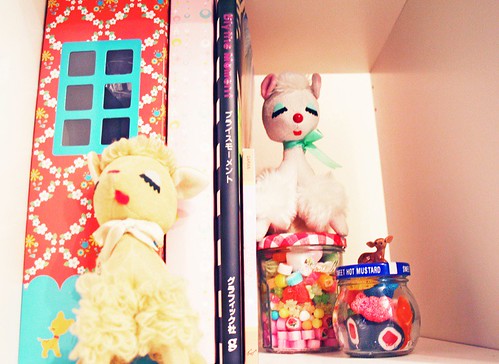
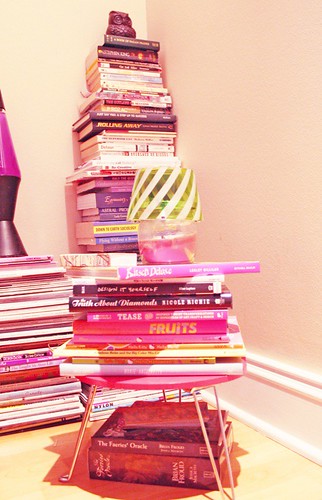
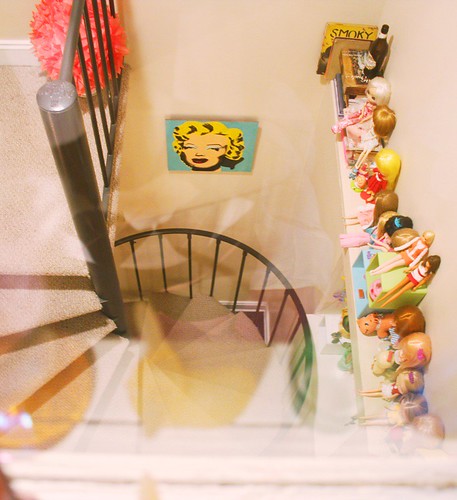
Inside the hardwood gave way to seats and built-in walls waiting side by side for someone to take a rest and gave up the staircase to the chandelier above. Four of the bottom apartments were 2-story with staircases inside, it happened that ours had a spiral staircase just waiting for Hobbes to run up and down every step. The staircase curled into a small, basement living room and kitchen, above, by the entry door, was a bathroom to the left and a bedroom to the right. The bedroom was complete with vintage, original window facing towards the spiral stairs that lead below. A landing facing built-in shelves and windows with plenty of sill for plants and kitties to sunbathe on. This was my favorite apartment because it was absolutely made for us! Without ample storage it was nearly impossible to grow in the teeny, tiny adorable apartment (we are now with Chihuahua!).

jumble

IMG_8552.JPG

IMG_8554.JPG

IMG_8564.JPG

IMG_9199

IMG_2558.JPG

IMG_2351.jpg

IMG_1907.JPG

IMG_1239.JPG

IMG_1237.JPG

IMG_1350.JPG

IMG_0969.JPG

IMG_1889.jpg

IMG_1162.JPG

IMG_0956.JPG

Visual Splendor

Remembering Rainbowlicious and 1990s Web Design

08/09/2009

My beautiful, creative best friend and maid of honor happens to also be the queen bee of whimsy online in the late 90s. If you don’t remember her because you aren’t a computer geek artist, then you definately missed out on a piece of bubble gum ball history that you’ll never be able to get back. Because she was so often direct linked, she allowed no direct linking.. so her websites aren’t even on the wayback archive! I had to dig deep into the depths of cat*e//Miseducated rainbow, stuffed old skool folders. This was quite a treat of course because I am a nostalgia whore and cannot relish in the colorful creations that we once lived for enough. (don’t look in my closets, Rainbow Brite dolls are stuffed in there waiting to be loved)

Kimi, the girl who forever has my heart:

From the mouth of the kitten of a different flavor comes some bits and pieces that were on Kimi’s collective from waybackwhen complete with everything cute, sweet and colorfully perfect. Absolutely no one could compete with the queen of the eye candied, pixel perfect palaces. Enjoy these images and descriptions by kimikat herself and immerse yourself in delish 90s web nostalgia.

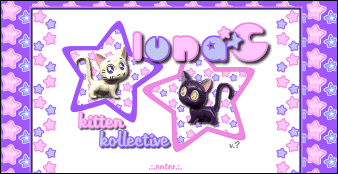
luna’s luna page

..my very first page, established in january 97, and to my knowledge is the very first sailormoon website made entirely by one of the feline persuasion, that of course being my very talented and MUCH*ly* loved luna daisy =)

not just a sailormoon site, luna’s page includes a cornucopia *hehe!* of kitty information, and tons of interactive activities ^_^ plus a good dose of moonkitty madness!

this page started out on geocities of course and remained there for over 2 years until rescued by the amazingly wonderful cheerbear*chibiness we all call coki!! =) coki has saved me from a ton of popup ads and headaches, and has become a wikked friend as well *waves!!*

i have the most fun with luna’s page and it really is my true love out of them all ^*^ i update it daily for the most part 🙂 you can read more about luna’s page if you’d like to here (link closed).

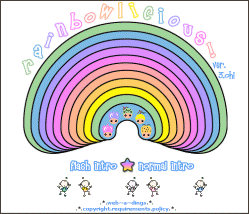
Rainbowlicious

..this is my (kimikats!) personal page, one that i left neglected for ages and am finally getting around to revamping and resituating 🙂 if you want to see just how messed up i am in the head, this is the perfect place to do just that! ^*^ being messed up in the head is a good thing by the way .. just so you know =)

most might be surprised to find out i’m not some 13 year old playing with mind expanding drugs but am actually in my mid 20’s, i was a preschool teacher at one time, and before that … well i’m not saying *lol* .. though above all, i’m just a twisted lil raver girl from los angeles :))

Diana’s Divine Designs

..my lil free graphics shop, consisting mostly of insane/neon/daisy/sanrio-ish backgrounds and also includes a ‘topsy turvey table tutorial’ 🙂 started on easter day 99, for a couple of reasons; one being just to help out others and spread some of my trippy lil backgrounds around. ive never been sure why, but some people seem to like my loud graphics and the requests for a place like this was overwhelming, with sometimes over 10 mails a day asking for just such a thing!! and secondly, heck, it was easter!! and i simply didnt have any eggs to pass around ^_^

thank you for stopping by to peer into the world of luna*C! =) if anyone actually reads all this, i’ll be one happy kitten! =^*^= and if not, ah well bonnebell, i had fun writing it =) call me easily amused but hey… and if your amused just as easily, then you’ll REALLY enjoy the pages in luna*C to a tee!!
*giggles on her caffeine high and waves!*

oldlayout2a

Quilting Bee

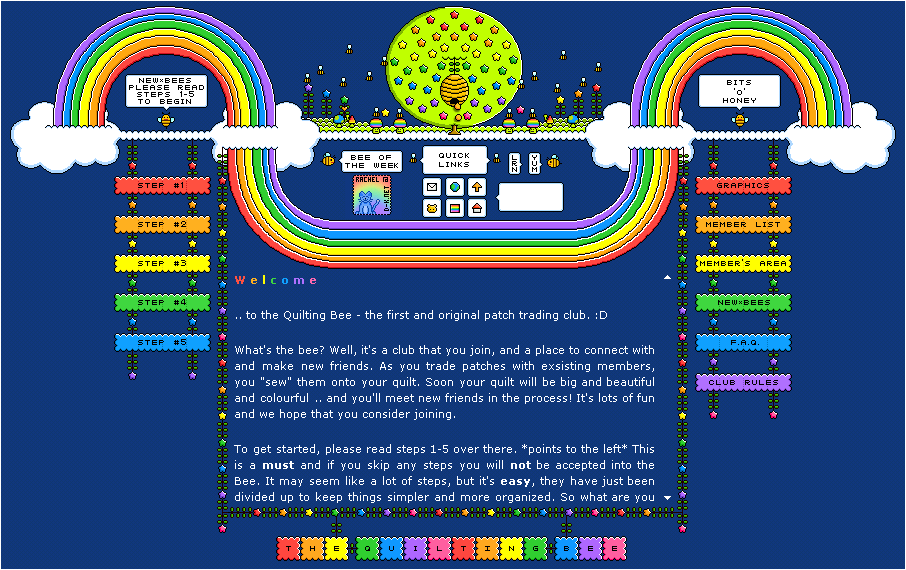
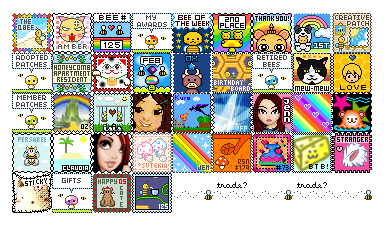
Everyone’s favorite community in the old skool web days! Swapping patched with friends to build a colorful and unique quilt you were to display on your website in a super special space!

quilt

Leave XOXOs for Kimi

Simply post the link to an image/graphic or message you’d like Kimi to have or that you made inspired by her to your reply and submit! It’s that easy! .. and soon we’ll be gazing upon your delicious art~ the very best, most eye-popping gifts will be specially displayed here for the kitty kat queen herself!


ALL gif graphics used in the article are (c) Kimi/kimikat, keep stickypaws clean.
Self Decoration

Trendspotting Street Fashion in Seoul

07/21/2009

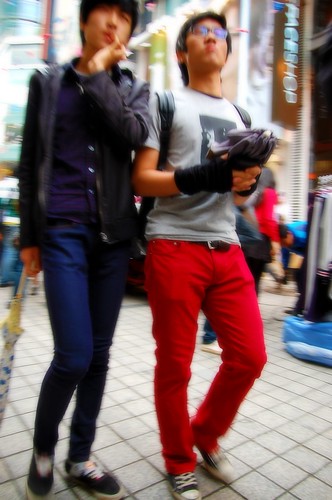
I’m a Seoul lover. I love the flashing neon lights, the festive nightlife spirit, the glossy black Asian hair and the noteworthy combinations of layered clothing adorning every person’s body. Seoul, South Korea, is a fashion mega-center, chock full of flow-y summer dresses, flashy jeans, oversized bags, chic ensembles and a hefty supply of non-prescription glasses added to make an outfit complete.

It’s a place where you can wear whatever your heart desires and only be viewed as that much cooler (so long as it’s not dowdy slacks and mustard-stained tee’s, of course). You can wear 3-inch stiletto’s with cut off sweat pants and look fashion-savvy. Or, you can throw on a rainbow-colored skirt over a pair of lime green jeans and top it off with magenta leggings. And if you’re into sophisticated chic, there’s nothing wrong with a solid dress and sunglasses that take up half your face.

The fashion possibilities are endless in Seoul. Here’s a taste to get your mouth watering. Caution: Devour slowly.

DIY

Copy and Paste CSS Candy Boxes

06/01/2009

Want to know how to make candy CSS borders to use with your tastee backgrounds? Feel free to use these for your website, simply credit Miseducated https://www.miseducated.com so that others can enjoy the candy. :9 Have more fun with palettes at colourlovers.com.

Sunshine Candy

Cheshire Cat

Daisy Gnome

Wizard Wand

Moonlight Moonbounce
Crafts DIY

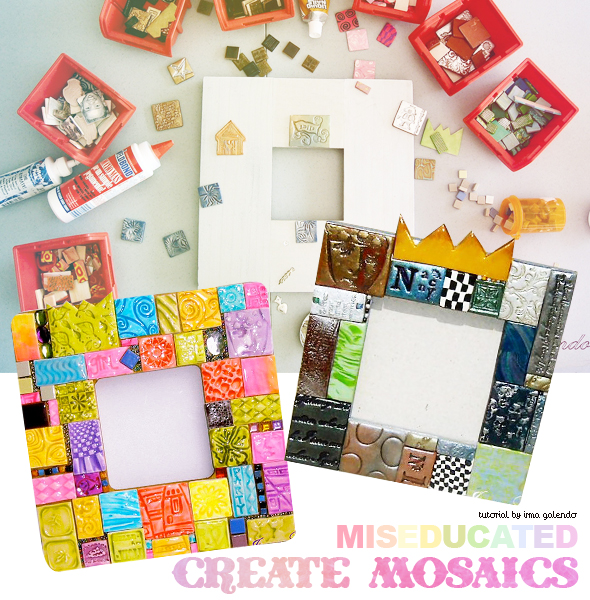
Create Your Own Mosaic Frame

04/14/2009

Before you begin

Choose boxes or frames “unfinished”; paint them with acrylic paint gold or silver (or whatever color you want, depending on your color scheme) just to have a base for the tiles to stick to. I don’t like to show raw wood between tiles because I don’t use grout in between the tiles (too messy and may scratch). Paint back and edges.

Create Mosaics

Supplies

Polymer clay (various colors)
Acrylic roller and/or pasta machine
Cookie cutters and craft blade
Stamps ( rubber or any texture you find around your house)
Acrylic paint and brushes
Metallic powders
Varnish for polymer clay
Glue (Liquid nails or Weldbond are good)
Oven (don’t use you home oven)

Creating Mosaics

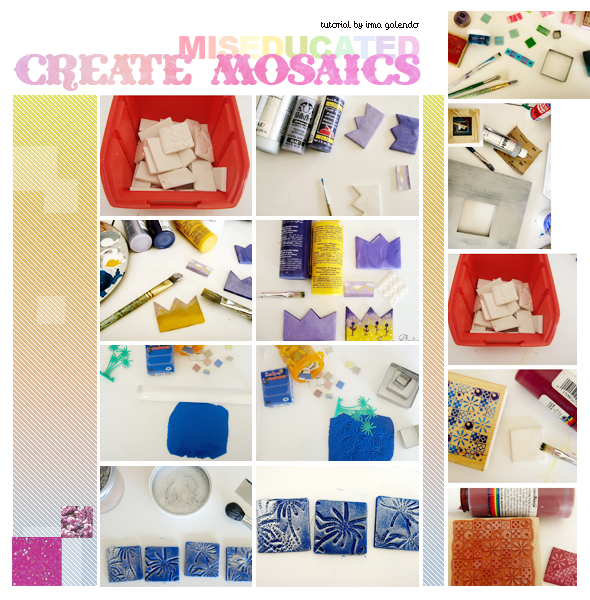
Paint white tiles as if they were little canvases using acrylic paint.. get creative! Use more than one color. Paint a single tile with multi colors or a landscape, try to make small pictures.. tell a story.

Mosaics with Texture

Cut the polymer clay until desired thickness, approx. 3mm ( see picture ). Gently stamp with your texture (I use toy palms in this case, you can use any texture like buttons, stamps, texture sheet, etc ). You can use mica powders or metallic powders to enhance the texture, then cut my tiles with the cookie cutters or a blade (squares are easy to arrange on you frame). I bake them following the instructions for the polymer clay brand. I don’t like to use a regular oven (fumes).

Mosaics with Stamps

Paint white tiles with acrylic paint, before they dry gently stamp them, it will take the paint off the tile creating a negative image of the stamp. Use rubber stamps for this and wash them after each use.

Making the Mosaic Mirror

I classify the mosaics by color, so they are easy to arrange when designing the mirror.
Arrange tiles on the frame as a puzzle and when you like the composition glue each tile. You may use ceramic tiles, milagros, beads, etc. just to have different textures and fill spaces when I don’t find the correct size of tile.
The last step is varnishing the tiles.

Use your imagination and have fun!

Create Mosaics
Self Decoration

1940s Beauty, Fashion and Action Resurrection

04/03/2009

Call me crazy, call me zany or simply call me metaphysically inclined. I have always had a sneaking suspicion that in my past lives — I envision two of them, darling — I was a regal sweetheart with a fabulous sense of style.

Oh, and it shouldn’t surprise you that each of my previous cycles on Earth were in equally wonderful eras: Lifetime #1: the European 1750s (I suspect I was a fling of Herr Mozart’s) and Lifetime #2: the legendary American 1940s.

As the title of this article implies, we’re going to focus on the latter, today. And, because I’m ordaining myself as Miseducated’s 40s guru (hey, I lived the life – wink!), I’m going to share with you little ways to incorporate that style into our fresh and fabulous 21st century.

Before we get started, let me say this: Invest in vintage
Kind of a no-brainer. But really, unless you have an air of authenticity about you then you won’t be taken very seriously! Hit up your local flea market, antique store, E-Bay or even Goodwill and you’re bound to find some goodies for a bargain.

1940s resurection

Style Tip #1: Hats and Hair

After you’ve styled your hair appropriately (check out YouTube for some great hair tutorials, like this easy one), literally top everything off with a 40s inspired hat. All sorts of hats were worn back in the day, so it’ll be easy to find a type that suits your fancy! I prefer small hats with a flock of feathers or a tiny, off-to-the-side veil! You’ll be in heaven with all the colors, shapes and sizes there are to choose from!

Style Tip #2: Hot Bod, Hot Dress!

The classic 40s dress is characterized by a cinched waist and flowy bottom half. Polka-dots are a guaranteed hit! Try shopping for some great dresses at Viva La Vintage, Dorotheas Closet Vintage, or Damn Good Vintage. No need to spend tons of money, I’ve found a whollup of pretty numbers on eBay and at Goodwill.

Style Tip #3: Clutch, please!

It’s important to have a purse to carry around, even when you’re prancing in your 40s gear. I mean, really, where else would we keep our lipgoss, cell-phone and identification? A pocket just won’t do! The perfect accessory to your outfit is a sweet little clutch and lucky for you, those are easy to find! Choose a shade that sets the tone you’re after! Roarin’ red? Fabulous! Sparkly sequins? Oh yeah!

Style Tip #4: Such a pretty face!

When it comes to dolling up your face, keep these in mind: luscious, fake lashes will take you far; outline your lips with a pretty shade of red and color them in (be sure to accentuate the “V” on your top lip); wear a rosey-posey blush that’s only subtle enough. Don’t be afraid to have fun with your makeup.

Style Tip #5: Gloves keep your hands clean!

You know they do! They also keep you looking refined, stylish and oh-so 40-licious! I like to keep things pristine with a stark, crisp white. You may be more inclined to roll up a pair of bright yellow duds. Whatever makes you happy is fine by me.

Style Tip #6: Cat-eye glasses

Whether you sport sunglasses or a pair of faux reading glasses, make them snazzy! Try a rhinestone-enhanced, golden cat-eye. Or maybe a subtle black is more your type. Either way, you’ll make a (smart) statement!

Style Tip #7: For the bold: Cigarette holder

I don’t condone smoking (keep your lungs happy, ladies), but a stationary cigarette in a pretty cigarette holder is really kind of drool-worthy. Purchase one for under $5 here and pretend you’re Audrey at the ball.

Bonus

40s slang to slip into your vocabulary. *
• Flat Tire – A dull witted, insipid, disappointing date.
• Cat’s Meow – Something splendid or stylish
• Heebie-Jeebies – The jitters.
• Ossified – a drunk person.
• Scram – Ask someone to leave immediately.
• Whoopee – To have a good time.

As in: Scram, ossified flat tire! You give me the heebie-jeebies when all I want is a cat’s meow whoopee!

*To be used only when employing 40s-inspired style.
Escapeland

Playfish’s Restaurant City or Bust

04/01/2009

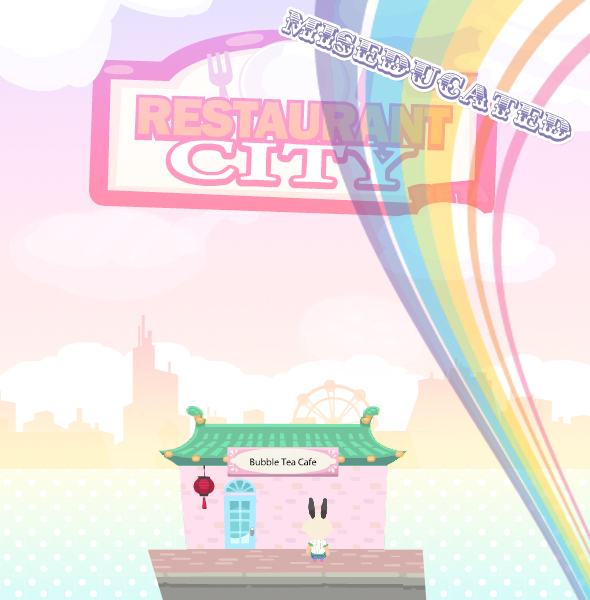
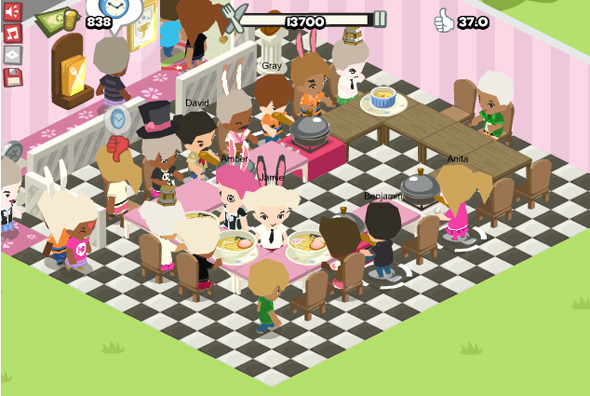
For yet another cute, simple and addicting game to make those hours behind a computer screen a bit more fun look at Restaurant City. Whether you’re heavily involved or not, your restaurant can run while you’re away and continues to make money. If you’re trying to level, make sure you keep your window open so your gourmet points will save.

Keeping with playfish tradition, the game is very interactive with friends. You may hire them as employees, visit their shops and leave messages or send gifts. It pushes being neighborly and trading ingredients to level your recipes up.

It’s quite expensive to buy furniture and to remodel your restaurant so keeping employees happy is key!

restaurant city

restaurant city

Conversation Sparklers

What’s your restaurants name?
Does your character resemble you or did you create an alter-ego?
What design or theme are you planning for?
Which recipe ingredients are you collecting?

With every new friend you get a new ingredient to cook with, feel free to add me for a new Restaurant City neighbor!

Crafts DIY

Sew an Adorable Business Card Case

03/25/2009

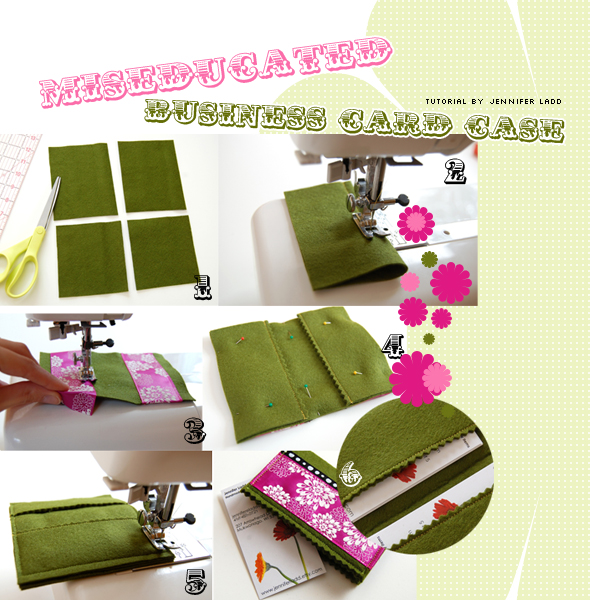
I love this cute business card case. It’s an easy-to-make, quick project and it has such a big impact when it is finished. I love how easy it is to customize to your own taste (by choosing different colors and different ribbon) so it can really represent your own business style. I use a sewing machine to make it, but it would be perfectly fine to hand-sew the case if you don’t have a machine.
diy business card case

Supplies

1/8 yard of wool felt
12″ of ribbon (I used two pieces of 12″ ribbon in my case)
thread
optional: pinking shears

Instructions

1 Cut four pieces of wool felt: two pieces are 5.5″ by 4.25″, the other two pieces 4.75″ by 4.25″.
2. Fold the smaller piece in half so that the folded edge is the one that is 4.25″ across. Sew along the folded edge. I use the edge of my zipper foot as a guide when I sew to help make this seam straight – just line the edge of the fold up with the edge of your foot.
3. Optional: I use pinking shears to trim the seam and give the edge a more decorative look. You don’t have to do this step if you would like your edge straight.
4. Repeat with the other small piece of fabric.
5. Cut your ribbon in half. Pin one piece of ribbon onto each of the shorter edges of one of your larger pieces of felt. Fold the edges under your felt before you sew so they will be caught by your stitching and held securely in place. Stitch a seam across both edges of the ribbon to hold it in place.
6. Make a sandwich with all of your pieces: first lay your felt with the ribbon face down, then the other large piece of felt. Then place one of your folded pieces at each edge (with the stitched edges toward the center). Pin all these layer together so they don’t move while you sew them.
7 Stitch carefully around all the edges.
8. Optional: I use my pinking shears again to add a decorative edge to the bottom.
9. Yea! You’re finished! Fold your case in half, insert business cards into each side, and enjoy!

Crafts DIY

How to Create the Perfect Polymer Macarons

03/25/2009

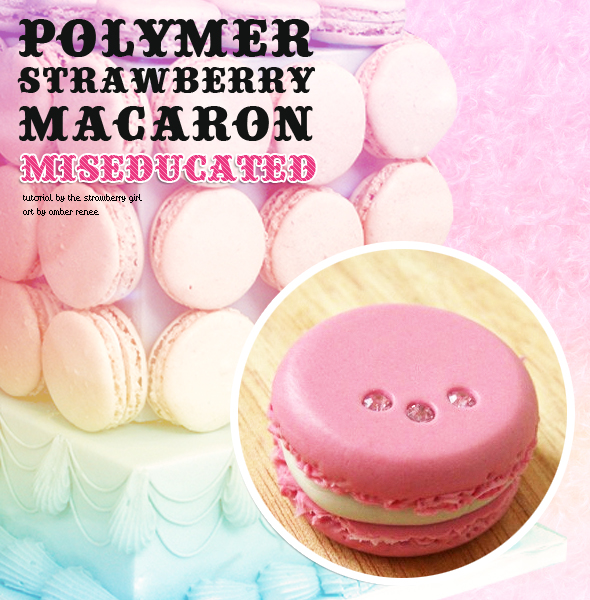
I believe many girls love macarons. Tell me who can resist the delicious and cute looking French macaron?

macaron diy

Besides the edible macaron, macaron accessories are also very popular in Japan and all around the world. There are may ways to make macaron accessories for yourself or for your little Blythe. The simplest way is to use air dry clay or polymer clay. In this tutorial, I choose to use air dry clay because I don’t like to use polymer clay that has to be cured in the oven.

macaron diy

You Need

Acrylic paint (any colour you prefer)
Clay cutter and measurement spoon (size is up to you)
9-pin
Embedded crystals (any colour you prefer)
Vaseline Petroleum Jelly or hand lotion
Air dry clay (you can use polymer clay which needed heat up in oven to cure)

Steps

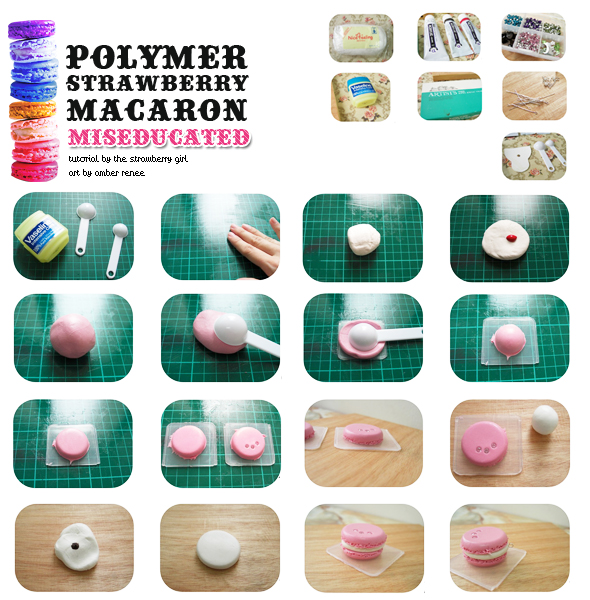
1. Apply the Vaseline (or hand lotion) on the tools and surface that will contact with the clay. This step is important to avoid the clay stick at the tools or surface.
2. Apply the Vaseline on the surface and your hands too.
3. Cut this amount of clay (enough to make two macarons).
4. Put a little red acrylic paint on top of the clay (I chose red because I want to make a pink macaron).
5. Twist and rub the clay until the colours mixed evenly with the clay.
6. Then put the measurement spoon on top of the clay.
7. Press down so to get a shape alike the shape of the measurement spoon
8. Please see if it looks like the photograph above.
9 Then use any flat surface to press it down until it looks like this.
10. Repeat the step 6 to 9 for the bottom piece. Some embedded crystals are put on top of the top piece.
11. As shown in this picture.
12. Cut this amount of clay.
13. Put a little bit dark brown acrylic paint on top of the clay (to add some colour to the filling) then twist and rub the clay until the colour mixed evenly with the clay.
14. Then use any flat surface to press it down until it looks like this.
15. Sandwich the white clay in between the top and bottom pieces of pink macaron.
16. If you want to make accessories with it, you have to add a 9-pin. Enter the 9-pin from the side.
17. Set aside the clay macaron for two days for completely air dry.

Tips

1. I recommend you to trim your nails first before handling the clay, because clay tends to stick to long nails.
2. Make sure all the tools and surface are dust free to avoid any dust twisted or rubbed into the clay.
3. In case the clay become dry, add a few drop of water to get back the flexible feeling.