Browsing Tag

fruit

Day With a Camera

Day With a Camera: Sugar Plum Fairytales

02/06/2014

Once upon a time there was a kitschy Queen with a pretty, pretty princess and a bossy kitten that enjoyed the finer things in life. Things such as sugar, fluff, puff, stuff and more sugar sprinkled mayhem on top of that. In fact she thought the world might be a bit better if covered in sugar and so she spent her life running amok with her beautiful best friends while trying to make her dreams come true. Then the universe smiled on her and she met her King who had a couple princes and another pretty, pretty princess. They all 6 (her new lucky number) ran around with big handfuls of glittery love to throw onto the ground like petals at a wedding while the bossy little kitty sang the song of sunshine to all who would listen.

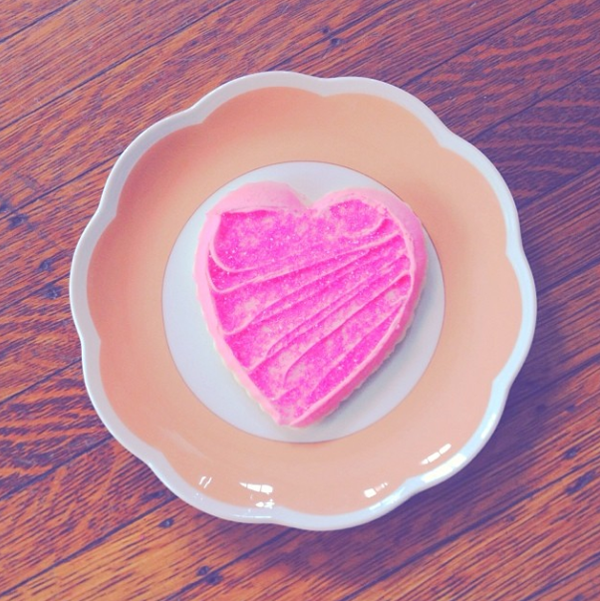
my pink cookie heart

popple baby

sugar plum cupcake

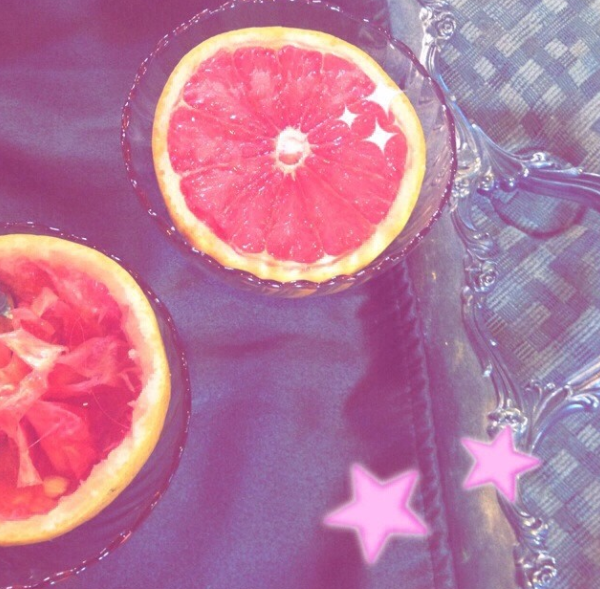
grapefruit

Buddha at the Art Institute of Chicago

This is a beautiful Buddha from the Art Institute of Chicago where my King took me last week and it reminded me of old, happy memories. I love it and it reminds me of my home in Japan and our home here because we have mini Buddha’s all over the house.

Jamie and Amber Renee by ZambiCandy

ZambiCandy drew this of Jamie and I recently! I commissioned it for her birthday because I knew she loved Zambi’s work and because we had been playing our 3DSs non-stop together and talking about how fun it was just like the cartoon above! It was perfect because we each got each other sentimental prints and gifts this year. Absolutely excellent work by an even sweeter artists. I highly recommend her for any chibi or manga work you want done!

PST! See more daily photos like this via instagram. My username is: amberrenee — xx!

DIY Recipes

How to Create Your Own Signature Smoothie

06/03/2013


Smoothies have been all the rage for many years now and healthy smoothies are only becoming more appreciated in this drink/dessert niche. Upon staying with my best friend in California and having her craft the tastiest protein smoothies for lunch and then moving in with my health-conscious soul mate and watching him prepare his own green smoothies I started to really appreciate the craft and every unique technique. Fruit or vegetables? Protein powder or vitamin powder? Honey or sugar? Ice cubes or frozen fruit? Milk, water or tea? So I decided it would be fun to discuss the basic craft of the smoothie and all of the ways you can change it up to fit your own specialized taste so that you too will have a signature smoothie recipe! I’ll even throw in my own go-to smoothie recipe at the end.

First you need to have a blender or a food processor. I use a blender at home but have tried both.

Next you’ll probably want to select some fruit which will likely be one of the main parts of your smoothie. Use fresh (if so you’ll later add some ice cubes) or frozen, one fruit or several. Have fun blending your fruit and creating new favorite flavors.

Fruity ideas: Mangos, strawberries, blueberries, raspberries, blackberries, bananas, apples, kiwi, avocados, pomegranates, oranges, watermelon and pineapple.

Next you’ll want to select a liquid or semi-liquid to add so you can blend your smoothie. There are obvious ideas and some creative ideas to create a more unique smoothie.

Liquid ideas: Milk, soy milk, rice milk, almond milk, coconut milk, coconut water, greek yogurt, tea, fruit juice, ice cream, sherbet, frozen yogurt, sparkling water or water.

Next you may choose to add protein or extra vitamins to your smoothie by using any number of protein powders or vitamin powders. We have a few here that are chocolate and vanilla flavored that adds a bit of sweetness and more vitamins to the smoothie making it more like a meal.

Next you may want to add some greens or vegetables to your smoothie to add some more healthy benefits. Some greens, such as spinach, don’t change the flavor and contain more nutrients. Others to try are kale, carrots, celery, beet root or green powder made from an array of green plants. When using veggies be sure to blend alone with water to make sure your smoothie is smooth and not like a cold vegetable soup.

You can add a sweetener to your smoothie if you feel it will not be as sweet as you would prefer. Try ripe bananas, sugar, honey, agave nectar or, if you must, artificial sweeteners. For me the vanilla protein powders or vitamin powders sweeten the smoothie enough.

To change the taste of your smoothie you can also add different flavor enhancements such as vanilla extract, almond extract, cinnamon, cayenne pepper, nutmeg, salt, coconut shavings, peanut butter, nutella, chocolate syrup and any number of extracts and flavorings you may have or prefer.

When everything is in the blender add a few ice cubes on top. I like my smoothies to be really smooth and icey almost like a smooth sherbet but some just use frozen fruit.

It’s time to mix the ingredients together and create your smoothie! Put the lid on the blender and turn it on medium until the blender starts to smoothen the ingredients then slowly turn it up one notch at a time. Start slow and let the blender work the ingredients for a minute until they are as smooth as you would like and pour into a glass. If you’d like to garnish your smoothie use slices of fruit, skewers of fruit, loose berries, a wedge of citrus fruit, a sprig of mint, flat-leaf parsley, a few leaves of lemon verbena or even a little umbrella. If you’re feeling in a bubble tea mood try to add some BOBA or small jellies to your glass before you add your blended smoothie and garnish with a wide smoothie straw.
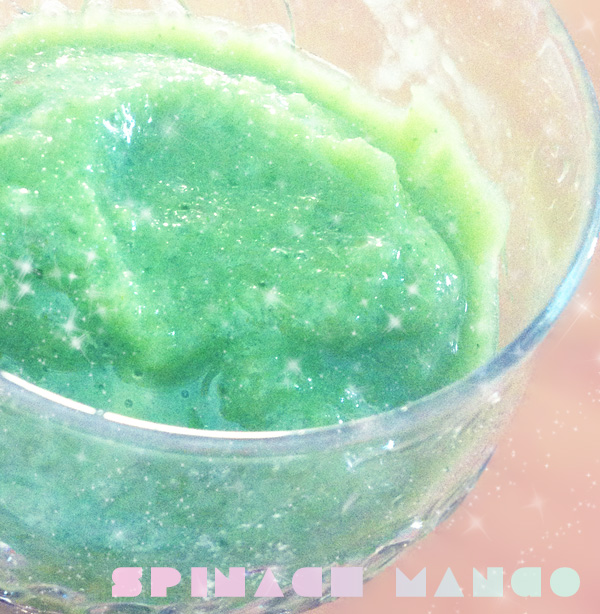

My Own Recipe

Add these ingredients to the blender as noted, blend and enjoy!

  • Fresh spinach leaves (blend with cup of water until smooth)
  • Ice (as needed, might need to add more water to blend)
  • Mango chunks
  • Pineapple chunks
  • Apple chunks
  • Strawberry slices
  • Scoop of vanilla vitamin powder (may substitute protein powder)
  • If you like add boba to the smoothie glass and pour in your smoothie after it has been blended smoothly and enjoy with a wide straw!
Crafts DIY

Create and Flavor Your Own Lipgloss

05/06/2009

Miseducated girls like to stand out in a crowd. Which is precisely why this make-it-yourself, fully customizable lip gloss recipe is perfect. (Not to mention, Miseducated-mavens always have pretty puckers).

Read through this super easy recipe and then feel free to add whatever your heart desires (within reason, of course!) to make your very own lip gloss.

creating lipgloss

You Need

Option 1 (the extra-easy route)
Have you ever applied Vaseline to your lips? Well whether you have or haven’t, it’s a great moisturizer for your puckers. If you prefer to take the easy route (which is great when you’re in a bind), can use this as your base and then customize the rest.

Option 2
Take 1 tablespoon of beeswax and place it in a clean glass jar. Place the jar in very hot water. Be careful not to get water in it as the two don’t mix well. With a toothpick or stick-like device, stir until you see that the wax has softened.

Next, add a tablespoon of almond oil. Mix thoroughly. If you want, you can add a capsule of Vitamin E which preserves your gloss for a longer amount of time and also adds nutrients. Another option is to add ½ a teaspoon of honey. This makes it a little sweeter and also adds nutrients.

If you’re a simple lassie then you can stop here. If you’re in the mood to customize, here are a few ideas to give a go:

Customize your Gloss

Fresh and Fruity
Add a few berries to your mixture while it’s hot. Crush the berries and pick out the skin or strain it. Some great berries to try are cranberries (which create a lovely shade of dark pink) or blueberries which create a pinky-tone. [Check out my Berry Beauty article which has a great Blueberry Honey gloss].

Mighty Mint
Add a few drops of peppermint or spearmint oil, mix it up and you’re set to go! Refreshing!

Cola Queen
Add a few drops of your favorite cola (try Sprite or Orange!) and mix thoroughly. Yum!

Charming Chocolate
You can either purchase chocolate scented oil or melt a little piece of chocolate with your beeswax. Guaranteed to melt on your lips! That’s a good thing.

Whimsical Flowers
Feeling romantic and whimsy? Try a little jasmine, rose or lavender oil!

Brewed Beer Gloss
That’s right! Infuse your lips with the scent of beer! Just add a few drops of your favorite brew and mix it up.

Lemon Lady
If citrus is your thing, squeeze a bit o’ lemon, lime or orange juice into your beeswax and mix thoroughly. Zing!

These are just a few ideas. Let your mind go free and you’re sure to come up with even better customizations!

*Make this gloss in small doses as it does not last forever. Store it in your fridge at night to make it last longer. Oh, and if you want to bring it out with you (a total “do”), store it in a recycled lip gloss container or even a fabulous little pill box!

DIY Recipes

Sandwich Pressing for Lunch and Bento Boxes

03/13/2009

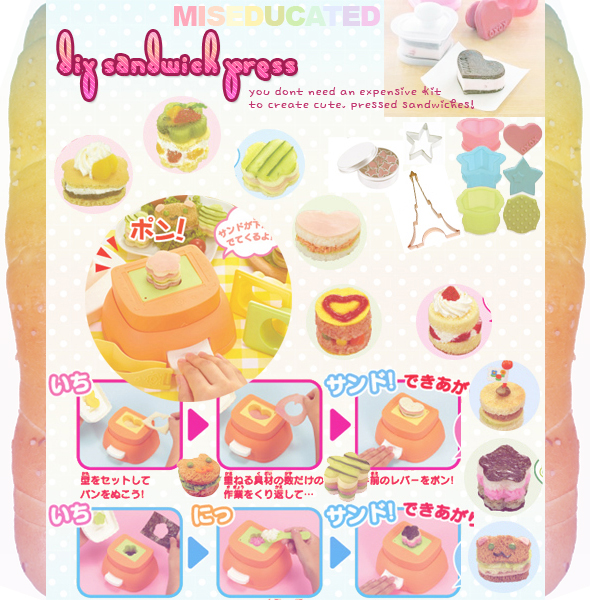
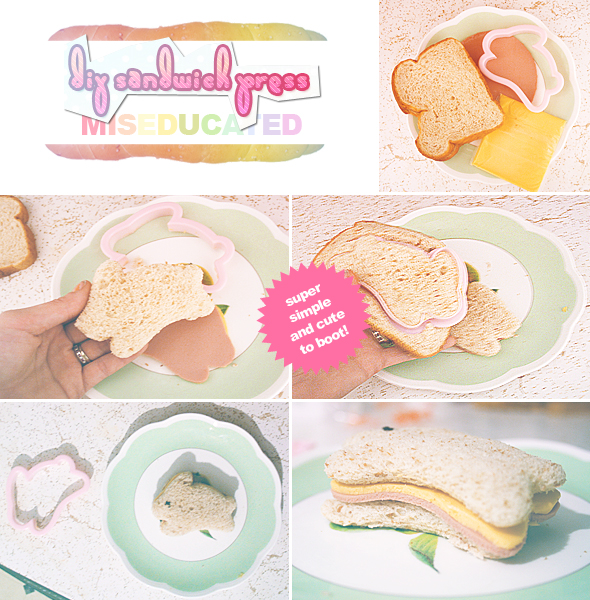
Want cute sandwiches and snacks in minutes? Don’t shell out a lot of money for the Japanese sandwich press kit, why not spend that money on the ingredients instead? All you need to create cute, crafted sandwiches is a cookie cutter of your liking and a surface to cut your food on. Just follow the DIY instructions next for an easy, cute sandwich for tea party guests and children to enjoy!

diy sandwich press

Need some sandwich ideas? Try layering these items to make cute, Japanese sandwiches:

Sandwich Ideas

cream, strawberries, bread
peanut butter, jelly, bread
egg, bacon, cheese, bread
Nutella, cream, bananas, bread
tuna + cottage cheese mixed, lettuce, bread
cream, kiwi, strawberry, peach, bread
sticky rice, seaweed, tuna + mayonnaise
deli meat, cheese, lettuce, bread
bacon, lettuce, tomato, bread
cookie, ice cream

sandwich press how-to

* If an item is thick, try cutting them individually and then stacking them. If you’re adding something creamy/messy try spreading it between bread first. Try a biscuit or sweet bread if you’d like something a little more sweet than plain bread!

DIY Recipes

Citrus Spa Recipes for Your Skin

01/20/2009

Citrus has wonderful affects when applied topically. That’s why fruits like lemons, grapefruits, limes, oranges, etc. are often seen in DIY beauty recipes. Citrus has naturally detoxifying effects when applied to the skin and it also serves as an astringent/toner and antiseptic. The following are three original and delicious DIY Beauty recipes that incorporate citrus*y fruits into the ingredients!

citrus

Grapefruit Toning Facial Mask

This recipe is especially great for those with oily/combination skin. The citrus juices from the grapefruit exfoliates and eliminates extra oil that may accrue over the days time. Oh, and it smells great, too! Here’s what you need to gather:

1 tsp. Grapefruit juice
2 teaspoons honey
6 ounces plain yogurt
8-10 almonds
1 tablespoon rice

Once you’ve got everything together, combine the ingredients in a blender. Blend on high for 1-2 minutes. If you notice that there are large chunks of almonds left then blend again. It may help to crush the almonds pre-blending!

Wash your face with your normal cleanser and pat dry. Apply a generous amount of the mixture to your face and spread it evenly. Let it sit for 15-20 minutes or until it has hardened. Rinse with warm water. Make sure you remove everything – you don’t want yogurt residue on your face! Splash your face with cold water to tighten pores and then gently pat dry.

Cream Cheese / Orange Facial Spread

I love this recipe because if you have any left over it makes a perfect spread for a toasted bagel! It’s a refreshing, creamy blend of goodness that does wonders to your face. Here’s what you need:

1 small-medium sized orange
½ teaspoon lemon juice
1 tsp. honey
2 ounces cream cheese (soft)

In a small to medium sized bowl, combine your cream cheese and honey. Blend thoroughly so that the honey is evening dispersed throughout the cream cheese.

Next, cut your lemon in have and squeeze out ½ teaspoon of juice. Be careful of the seeds! Peel your orange so that you are left with a skinless fruit! Take 2 slices of the orange (you can peel them apart easily) and take off the thin layer of “skin.” Add the lemon juice and peeled orange slices to your cream cheese and mix/mash until you have a smooth and consistent texture.

Your spread is now ready to spread! Apply a thin layer of the concoction to your face and let it set for 15 minutes until it is hardened. Rinse with warm water. Follow up with a few cold splashes (to tighten pores) and gently pat dry!

Pineapple Papaya Acne Treatment

Again, this one is good enough to devour! Papaya is a powerhouse of nutrients and enzymes that work to heal the skin. It does wonders for acne-prone skin. The citrus*y pineapple is a gentle exfoliator and the honey/yogurt work together to moisturize. Round up these ingredients before you begin:

1 cup fresh pineapple (avoid cans)
¼ cup fresh papaya
2 grapes
½ tablespoon honey
1 tablespoon yogurt

After you’ve prepared your pineapple and papaya, take 2 grapes and peel the skin off. In a small to medium sized bowl, mix all of your fruits together, mashing them well so that you have an evenly combined mixture of delicious looking fruit. Try to not to eat any!

Next add to your bowl the honey and yogurt. Mix well and let it set for 10 minutes in the refrigerator. This gives the papaya and pineapple juices time to seep into the mixture.

While you’re waiting, cleanse your face with your normal face wash and pat dry. Next, apply the mixture to your face focusing on those areas where acne is most troublesome (T-zone, chin, etc). Let the mixture set on your face for 20 minutes. Rinse with warm water and gently pat dry. This also works well on other acne-prone parts of your body.