Browsing Tag

handmade

Crafts DIY

Lace for Your Jewelry: Resin Pendant Tutorial

11/15/2018

Resin can be a fun hobby or business for the crafty miseducated diva in all of us. The possibilities are endless, allow your creativity to run wild and create pieces that are quite unique and fun. With some initial prepping steps, you can suspend just about any material in resin.

In this basic tutorial I will be casting jewelry pieces with resin, but you can use resin for whatever else you would like to make like paperweights, coasters, soap dishes and many other things. There are even many different types of resin that can be used, for different types of desired uses.

I myself use a two part casting resin that is pretty user friendly. I am a novice at resin, just learning as I go and getting better each time. Its fun and I thought I would share some basic tips and give crafty divas something new to try…cause like me I know with all this creativity you have inside of you, you always want to try something new. So this is something for you gals who are aching for a new creative outlet.

I chose to cast fabric for the purpose of this tutorial. I have played with sprinkles, glitter, and candy before. So I thought I would try something new, so here goes….

resin

Supplies

  • Easy Cast Resin
  • 2 Plastic Cups
  • 2 Stir Sticks
  • Wax Paper
  • Paper Towels
  • Resin Molds
  • Fabric of choice
  • Mask
  • Gloves
  • Timer

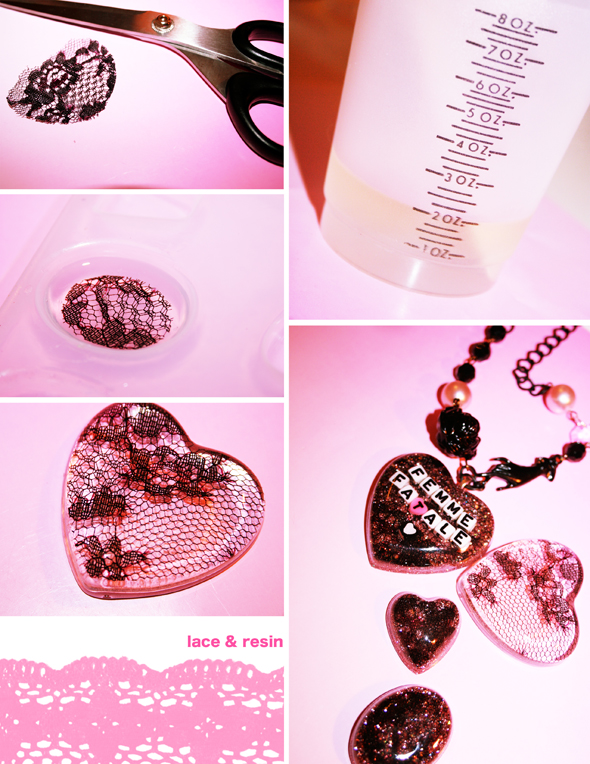
Before hand I prepped my pieces of fabric by cutting them a little smaller than mold shape, and sealed them off with mod podge, or you can use an acrylic sealer if desired.

Instructions

    1. Take a plastic cup and pour in 1 oz. of resin, then pour in 1oz. of the hardener in the same cup, so you end up with 2 oz. total. (Easy Cast has a ratio of 1:1)

    2. Take one of the stir sticks and gently mix the concoction, make sure not to whip as it causes air bubbles. Scrape the sides periodically and mix well for 2 minutes. The mixture will look cloudy at first but this will clear up after resin and hardener are mixed together thoroughly.

    3. Take this mixture and gently pour into your other clean plastic cup. Stir gently again for 1 minute this time. The mixture at this point should be clearer than before.

    4. Set mixture aside for 5 minutes, so the resin can self-degas. Take this time to clean up a bit and get your mold and fabric piece(s) ready.

    5. When ready, pour a little bit of resin into each mold, about a quarter full.

    6. Then place cut fabric, right side down into resin. You can use a toothpick to position and press fabric. This will also help remove any air pockets trapped underneath the fabric that can caused some bubbles.

    7. Then this is where you will need to practice some patience…let the piece(s) rest overnight or for several hours until cured. You can check if it is cured with a toothpick, this way no fingerprints will be left behind.

What I covered in this tutorial are the basics, but you can get more creative by adding different layers. Below are photos of some layer pieces I created, I hope you find them inspiring.

After your pendants are cured, you can jazz them up by drilling holes, adding jump rings, gluing on bails, posts, brooch settings, what ever you like, let your imagination run wild, its all up to you! Your end result will be beautiful and unique pieces.

A great source of reference and inspiration of mine is a book that I turned to when first approaching resin after multiple searches on Google, a book called “The Art of Resin Jewelry” by Sherri Haab. In this book she goes over in detail all different types of techniques with resin, like the so fun and yummy candy jewelry.

Athina’s Creations

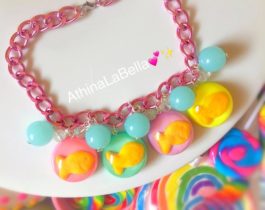
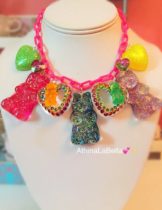
See more in my shop here.

Originally published on 12/08/2009.
Shop

New Zines / First Perzine in the Shop

03/04/2018

You might remember a past zine post I did called I love ZINES in 2015 where I explained buying, browsing and creating zines. Well, I’ve finally made some new zines for the Miseducated Etsy shop and NO, I still have not uploaded the video I promised! Soon.

What is a zine?

A zine is most commonly a small-circulation self-published work of original or appropriated texts and images, usually reproduced via photocopier. Usually zines are the product of a person, or of a very small group.

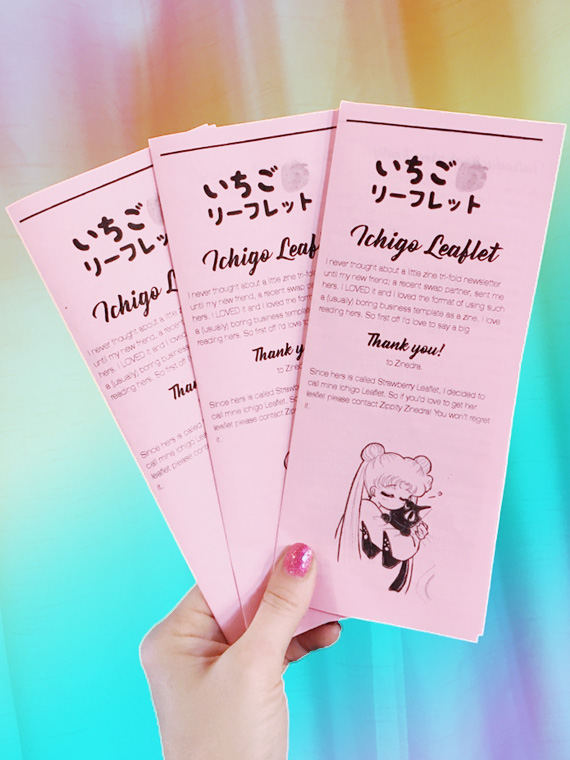
Ichigo Leaf

“I never thought about a little zine tri-fold newsletter until my new friend, a recent swap partner, sent me hers. I LOVED it and I loved the format of using such a (usually) boring business template as a zine. I love reading hers. So first off I’d love to say a big *Thank you!* to Zinedra.”

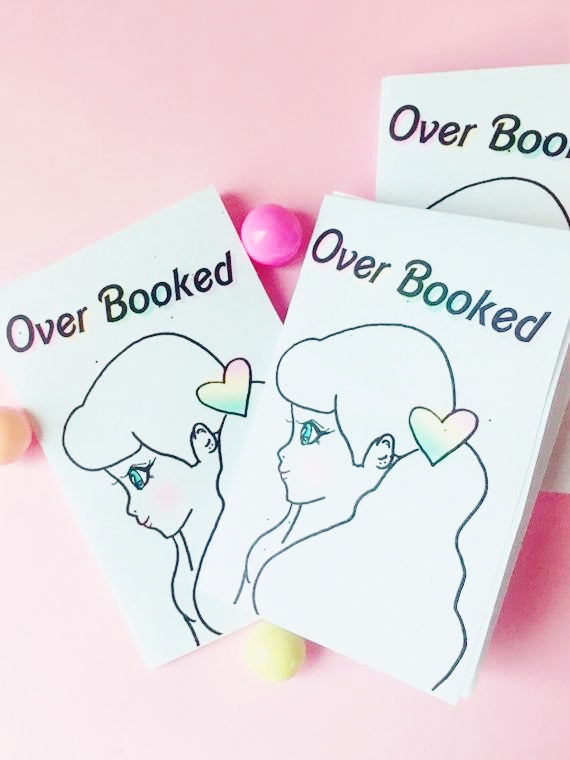
Over Booked

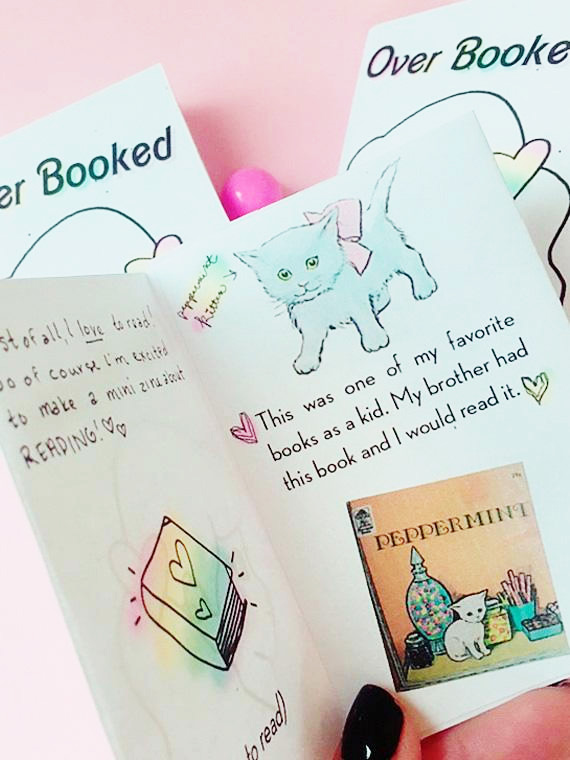
Over Booked — My second printed micro zine. I am in a zine community and we were all asked to create a literary zine so this one mentions my favorite types of books and why.

I started by drawing the front illustration and then it was off from there! This is both typed and handwritten, full color! Similar to 5 Reasons I Love You (my first micro zine!).

Crafts DIY Vlog

Artist Trading Cards DIY: Make and Collect

12/16/2014

Inspired by the many trading cards of the past, artist trading cards (often called ATCs) are another fun way to trade with a personal flair. I have a feeling that even non-proclaimed-artists should create ATCs — what a cool way to revive aged-pop cultures? I plan to attach bubblegum to mine so let me know if you’d like a bite~

The cards must be 2.5in by 3.5in or 64mm by 89mm (no exceptions ^^). They are also generally made as limited editions (it’s a time to relax and handmake something small and exclusive) and should probably contain your name, theme, contact information and anything else you’d like to include! If they’re part of a series you can also number them, ex. Moon Cats 3/6. It might be a cool idea to use different themes or criteria for each series to keep it fun~ challenge yourself and be creative!

Pattern

ATC envelope pattern.

Swaps & Collecting

ATCs For All Forums
Swap Bot
Altered Art Swap List
Etsy ACEOs

Crafts DIY

How to Make Citrus Peel Potpourri

12/28/2013

potpourri

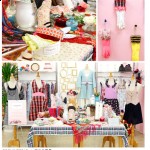
Need an easy and sweet little gift for friends? Want to add some deliciously spicy scents to your environment, closets or dresser drawers? Why not make potpourri? It’s easy, comforting and smells wonderful! This year at our Holiday party I made a big bowl of potpourri in one of Mistereducated’s handmade, sparkly bowls. It was a combination of citrus peels from the fruit salad we made, dried orchids from the flowers he raises, roses from bouquets he’s given me, spices, herbs we grew and tended together, etc. It was filled with lots of love and the spirit of our happy home. I placed the bowl in the center of the table and on the edge I placed silky white sachets filled with the potpourri for guests to take upon leaving.

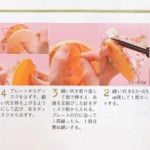
1. Peel orange, lemon or grapefruit trying to keep large pieces of peel.
2. Cut into peel-shaped slivers or your own shapes with sharp scissors.
3. Lay out on a tray with no peels touching each other and let dry for a few days.
4. When dry, add peels into glass jar with cloves, cinnamon sticks cut into smaller sections, nutmeg, small pinecones and dried flowers such as pink rose petals.
5. Add 3 drops cinnamon essencial oil and 3 drops orange essential oil.
6. Lid and shake jar. Keep closed for several months making sure to shake or stir each month.
7. Voila! Open and place potpourri around house in bowls, baskets or in sachets.

Citrus Stovetop Potpourri

1. Grab a pot.
2. Add fresh orange peels from 2 oranges (no need to dry).
3. Add spices of your choice: cloves, nutmeg, cinnamon, vanilla, etc.
4. Put enough water to soak and submerge ingredients.
5. Simmer on stove over low heat to achieve scents, turn stove off when done.
6. Can last a few days if you want to re-simmer tomorrow.

slice

Want to use SLICES of oranges to make potpourri?

1. Slice the orange into thin, even slices.
2. To dry in your oven, set the temperature to 100 degrees F and put in oven for approximately 4 hours. The dried slices should be brittle when removed.
* Make sure to rotate and shift the drying trays every half hour and turn the food occasionally to ensure even drying.

DIY Recipes

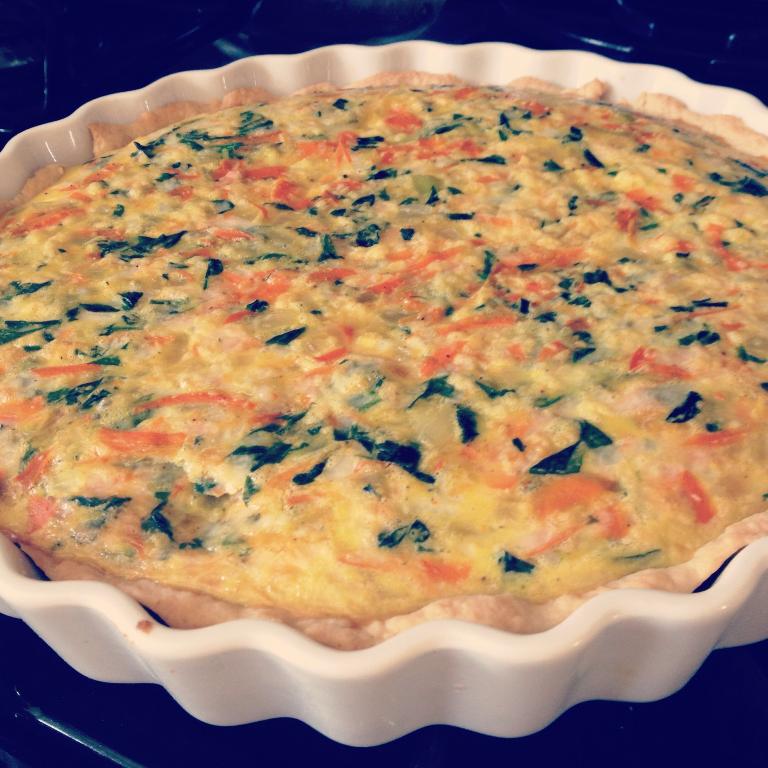
Vegetarian Goddess Quiche Brunch Recipe

01/10/2013

As you know, I’ve blogged recipes here in the past but have never actually made it one of my focuses at all until now. Having recently become a vegetarian and focusing much of my energy on being a domestic goddess I’ve become passionate about cooking and crafting my own recipes again as well as updating my old meat-inclusive recipe box creations.

With inspiration from my love I have began to embrace vegetarianism and healthy eating so I have updated my quiche recipe to fit our diet and to give him a little tasty and healthy pampering after a long work day.

servings: 19″ pie (serves 5)
prep time:
cook time: (10 min for veggies, 30 min for quiche)
total time:

Ingredients

1 pie crust
4 eggs
1/2 cup shredded carrots
1/2 onion diced
1/2 cup fresh chopped spinach
1 clove garlic crushed
splash of olive oil
1 cup shredded cheddar cheese
dash of nutmeg
salt and pepper to taste

Preparation

1. Preheat oven to 350 degrees F.
2. Heat oil in a medium skillet over medium heat and cook the vegetables in order of firmness until tender.
3. In a large bowl add sauted vegetables, cheese, eggs and spices and mix together.
4. Pour the mixture into a pie shell.
5. Bake quiche for 30 minutes in preheated oven on middle rack and enjoy.
Mew for Today Visual Splendor

Mew for Today: Loving Big Cartel

09/30/2011

The Big Cartel directory is one of my new favorite things. Especially since I’ve already found some of the cutest stores ever and I’ve only skimmed the surface! Wow, such cuteness and character.

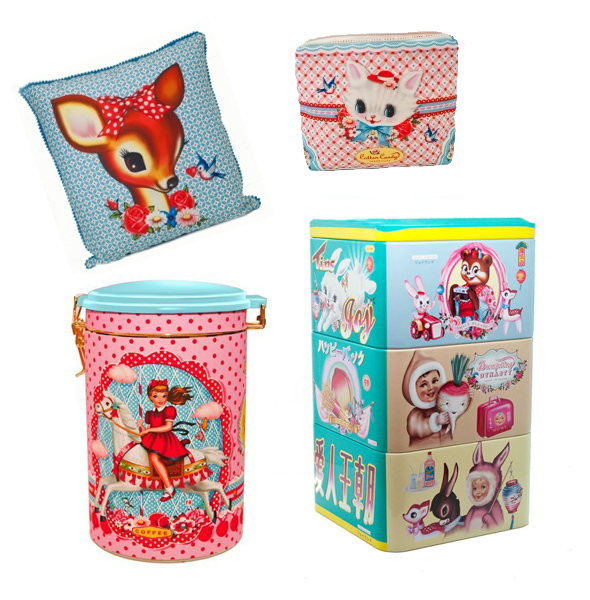
At Lapin & Me you can purchase Dumpling Dynasty brand housewares and more absolute cuteness. *drool*

At Electric Alice you can buy the 6%DOKIDOKI Heart Attack ring.

At Con*Tact Caffeine you can buy any scent under the rainbow of caffeinated soap.

At Shojono Tomo USA you can purchase the cutest fashion available online (as worn by Nicki Minaj). 😉

AND at Tokyolux, as I’m sure you already know, you can purchase colorful cat tees.

Like I said, that’s me just skimming the surface. There are tons more where they came from.

GET FEATURED! SUBMIT YOURS!

Design Your Life

Etsy vs Big Cartel (Storenvy, eBay and more)

09/02/2011

So I originally planned to write an article about using Etsy vs other cart software to open a store but then I saw my friend, Brigitte, did the same thing here. Her article is right on target so I had to feature it as well as give a few of my own findings.

As far as traffic and community goes, Etsy really has the best so it’s hard to compete. If you don’t have an Etsy account simply for buying and meeting new people you’re missing out — it has a wonderful community. However for store customization and less limitations (I can’t sell an item I didn’t make on Etsy so no collaboration pieces are allowed in my shop.) I would have to go with Big Cartel. I know artists tend to use each of these obsessively and I think they’re right on target. It all depends on what you want to do in the beginning as far as which store management you use.

To give you a little taste of what others are thinking, I ran a little poll. I asked people which buying/selling medium they prefer and why, this is what they said:

Louise: Etsy! It has a Girly/friendly feel to it. There’s a lot more communication between buyers and sellers.
Irit: Etsy for handmade items, eBay for hard-to-get items.
Chelsea: I hate eBay – it’s just not user friendly and I dont like how the combined shipping works. For homemade it’s Etsy or Big Cartel only.
Kayleigh: Etsy, mainly just because it’s what I’m used to. 🙂
Amber: I prefer buying off of eBay but selling on Etsy.
Jamie: I like to shop on etsy when it comes to finished products, and I like the community aspect of it but when it comes to buying supplies, I prefer eBay because the prices are more reasonable most of the time.
Kimi: I don’t sell, I just buy. I use both Etsy and eBay.

And, in another poll, when asked which medium users prefer all users asked said Etsy first and foremost. I think you see the reaccuring theme here.

When deciding which store management to use consider the following: are you selling vintage? (Etsy) do you want to feature sold out products in your store? (Big Cartel) do you want a quick turnaround? (eBay) There are so many options for a seller online these days — the sky is really the limit. When you decide what you want to do it’s completely inspiring owning a little shop on the web. Whether you own a store currently or if you’re still researching I wish you the best on your adventures.

Etsy vs Big Cartel Articles
Looking for more articles and information before you make a decision? Check out these other articles/posts I found on the same thing:

Big Cartel or Etsy?
Etsy vs Big Cartel: The Business of Handmade
Guide to Setting Up Shop Online
Why I chose Big Cartel over Etsy
Let’s Talk Etsy vs Big Cartel
Moving Shop / Etsy vs Big Cartel
Why I moved from Etsy to Big Cartel
Etsy vs Big Cartel – How to choose?
Four Venues to Sell Handmade Goods

DIY Magazine Clips

Fun With Yo-Yos and Japanese Craft-spirations

01/18/2011

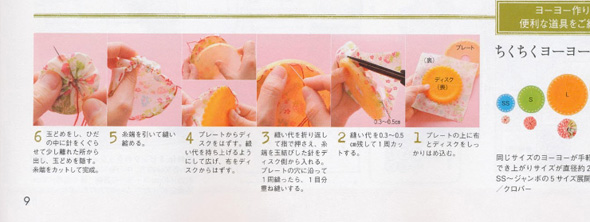
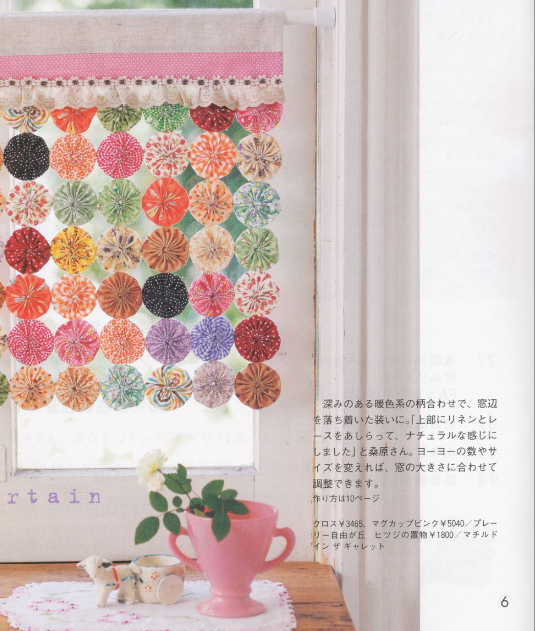
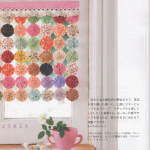
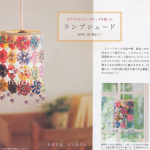
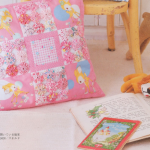
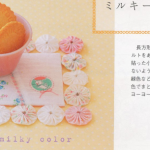
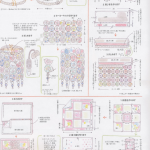
I was flipping through some Japanese craft books lately and found a few cute uses for yo-yos that I thought were super cute for the home.

The lampshade is my favorite and I have to try it. What about you? It’s like a yo-yo chandelier.

I’ve always loved yo-yos for some odd reason, a blanket of yo-yos in an array of candy colors and polkadots really makes me drool like no other. These ideas gave me the same reaction!


Crafts DIY

Kawaii Crafts From Around the Web

01/10/2011


Recycle old magazines to make thrifty canvases.
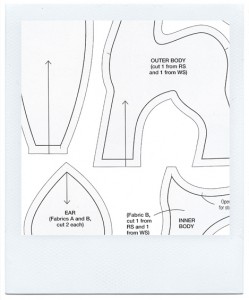
Create a plush, retro deer similar to Ayumi Uyama style.

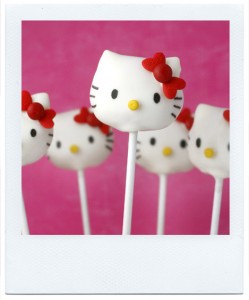
Create Hello Kitty cake pops with Bakerella.
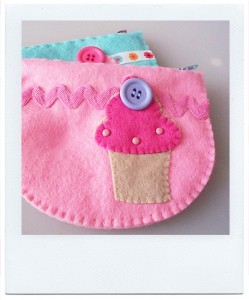
Make a sugary sweet felt coin purse.

Merci to each of the authors for your lovely craft tutorials! I’m very happy to feature these blogs because they really excel at creating visual, eye-candy heavy tutorials and I know you Miseducated readers will love them as much as I do!

Now let’s get creating…

DIY

Let’s Do It Ourselves: What do you want to learn/make?

09/22/2010


Remember in the past when I had spoke of tutorials lasting several articles, learning to do things together and tackling more wonderful worlds of expression?

Well..
that time is now and I need *you* to suggest your absolute best and worst ideas for things you’d like us to learn to do together.

Please make suggestions here, by email or on Facebook.

I’ll keep all of your ideas, add my own and soon we’ll be sucking up a whole new rainbow of creativity!