That’s right, I said decoPATCH not decoupage! If you’d like to know the difference between the two, this article is a great place to start.
I decided for this article I would need something around the house that needed a makeover so I found a natural wooden frame, a table worn on the top and an empty cocoa tin.
If you want you can use actual decopatch paper, glue and sealant but I did this with things I had around the house.
You Need
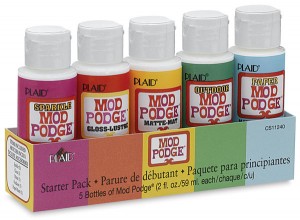
- Mod Podge (glossy)
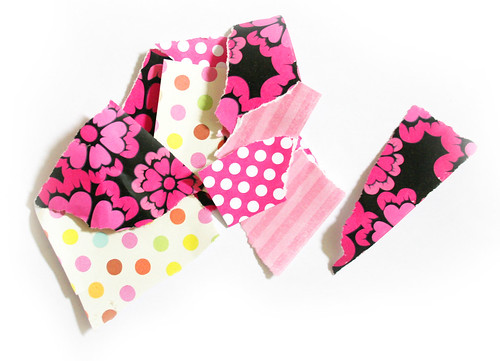
- Paper scraps
- Something to decopatch
First I collected torn pieces of paper that sort of followed a theme. My theme was kitschy-sweet as usual. Too excited but nervous to start with the table I decided to start with some junk I had saved, a cigarette box and an ATC-sized (2.5 x 3.5 inches) card. I used the same thin paper for each that I had torn into small and medium-sized pieces. Then I covered my box/card in Mod Podge (glue) (I know there’s decopatch glue and varnish but I’m a Mod Podge addict.) and smoothed down the strips of paper. Last I covered the paper in a layer of Mod Podge (varnish) and let it dry. How easy was that?
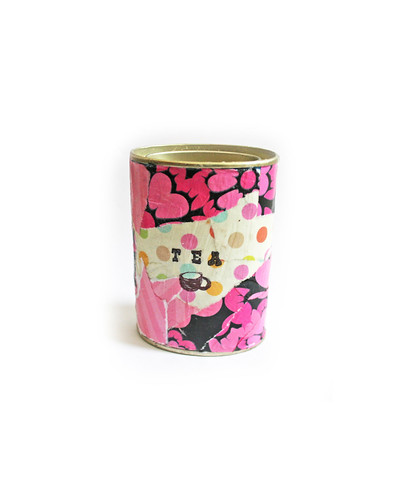
Next it was time to try my luck on the tin. I tore out assorted pieces of paper this time and followed the same instructions above. Now I have a kawaii place to keep tea, coffee and small things.
Stay tuned for next time when I’ll be decopatching a frame and table with decopatch paper from France.


